ccs独服使用ipmi+netboot.xyz重装系统
ccs独服使用ipmi+netboot.xyz重装系统
小鸡吧1.安全设置和获取相关服务器信息
登录独服后台:https://portal.colocrossing.com/auth/login
[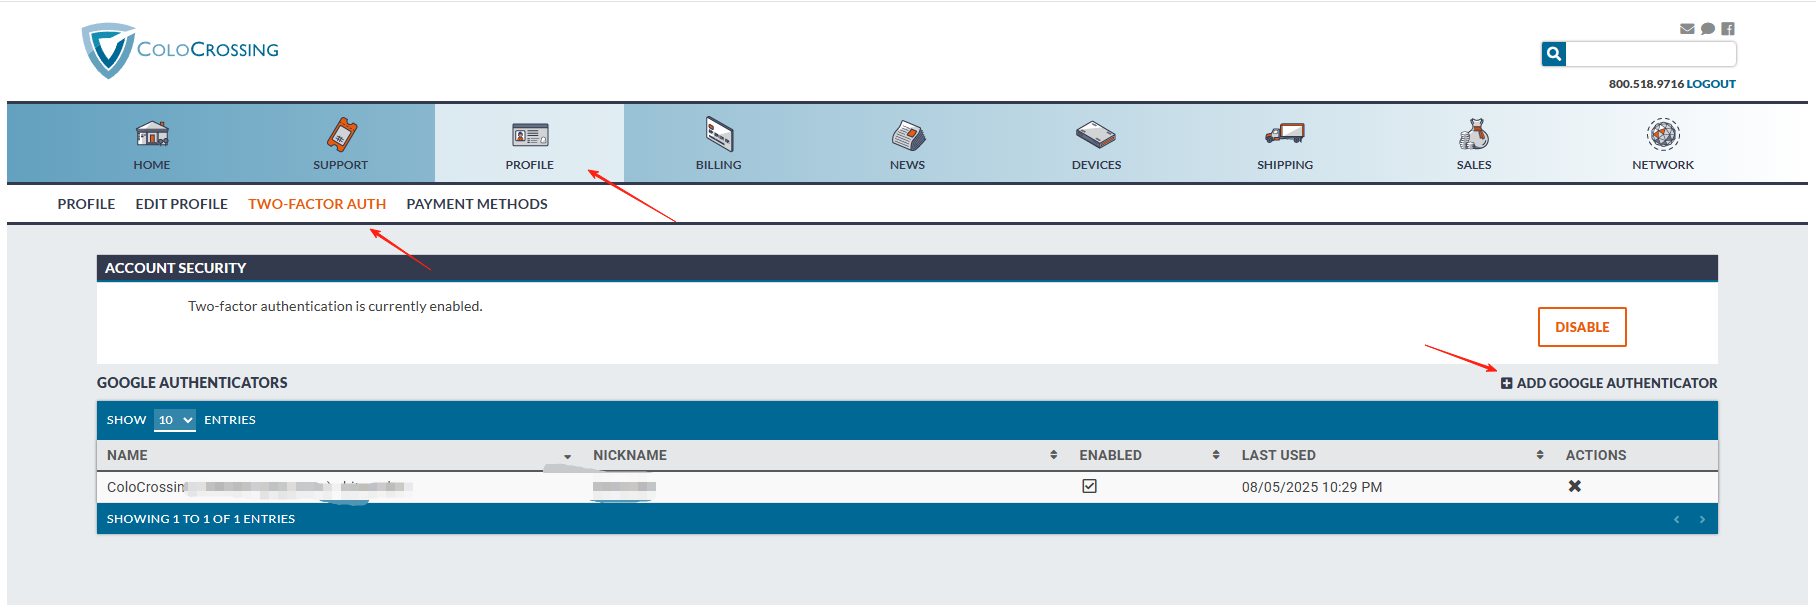
先设置二次验证,点击PROFILE->TWO-FACTOR AUTH->ADD GOOGLE AUTHENTICATOR
[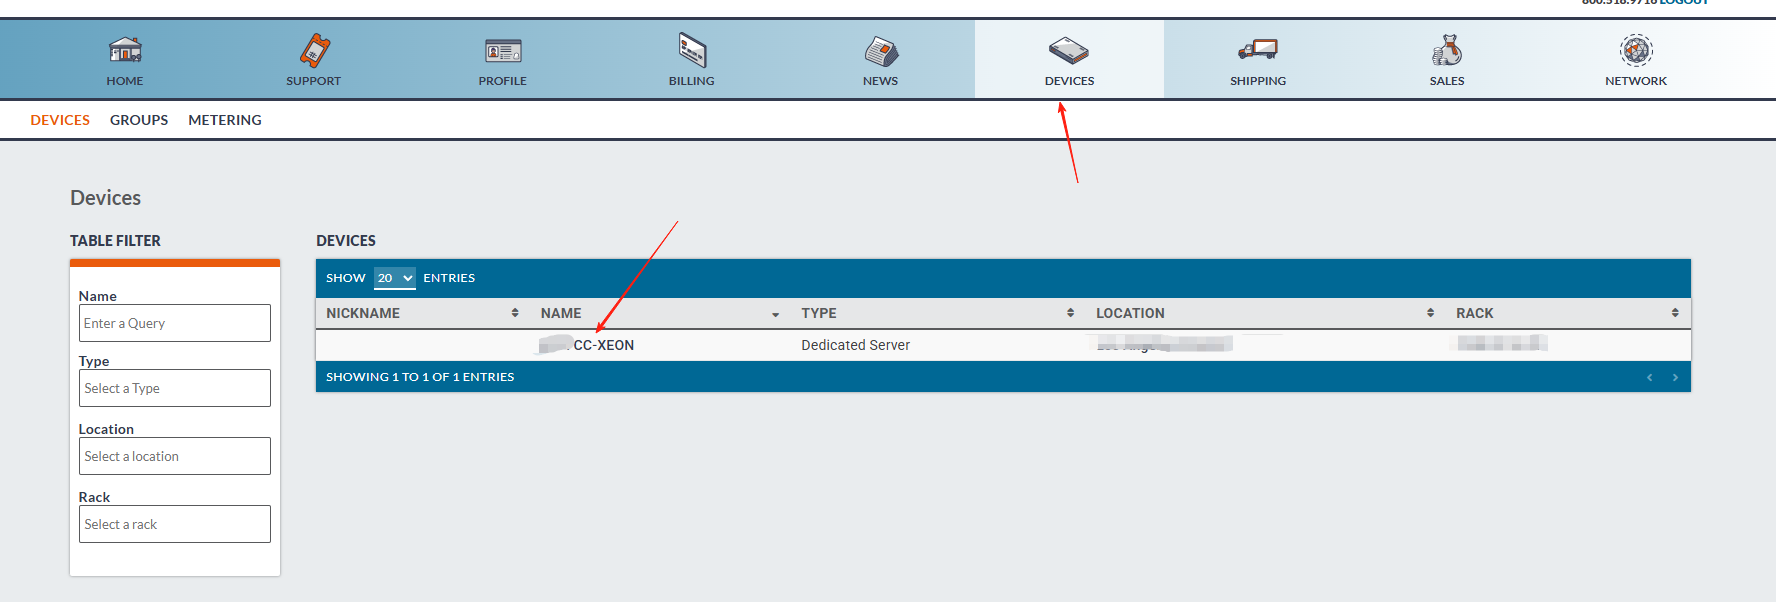
再次点击导航栏的DEVICES->产品名称
[
[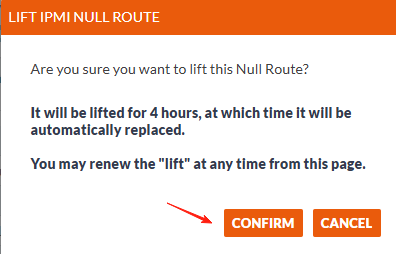
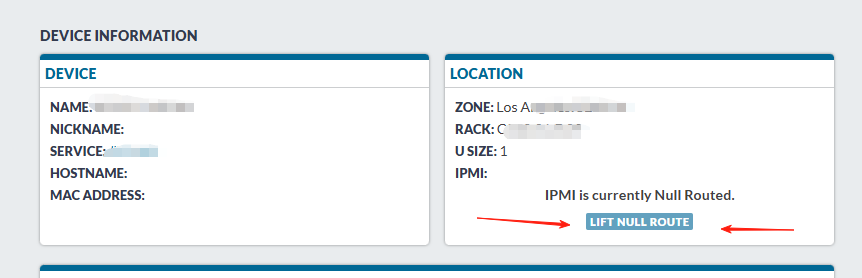
点击LIFT NULL ROUTE ,激活路由(和客服沟通过,激活后每隔4小时,系统会自动把路由制空,如果杜甫的IPMI后台无法访问,请到这里进行激活)
参考工单回复:
1 | For security reasons, we have implemented a system that places null routes on all IPMI addresses by default. |
[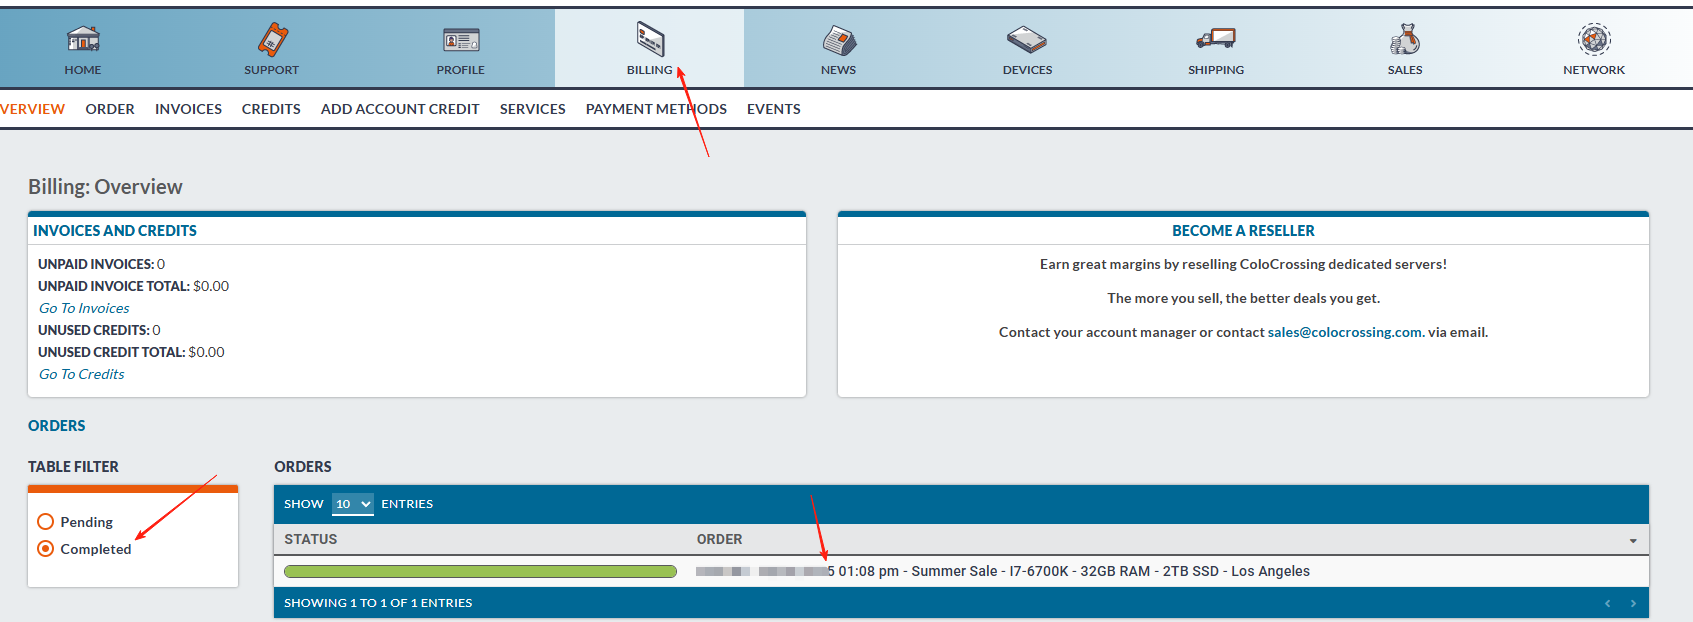
点击导航栏的BILLING->Completed->订单名称
[
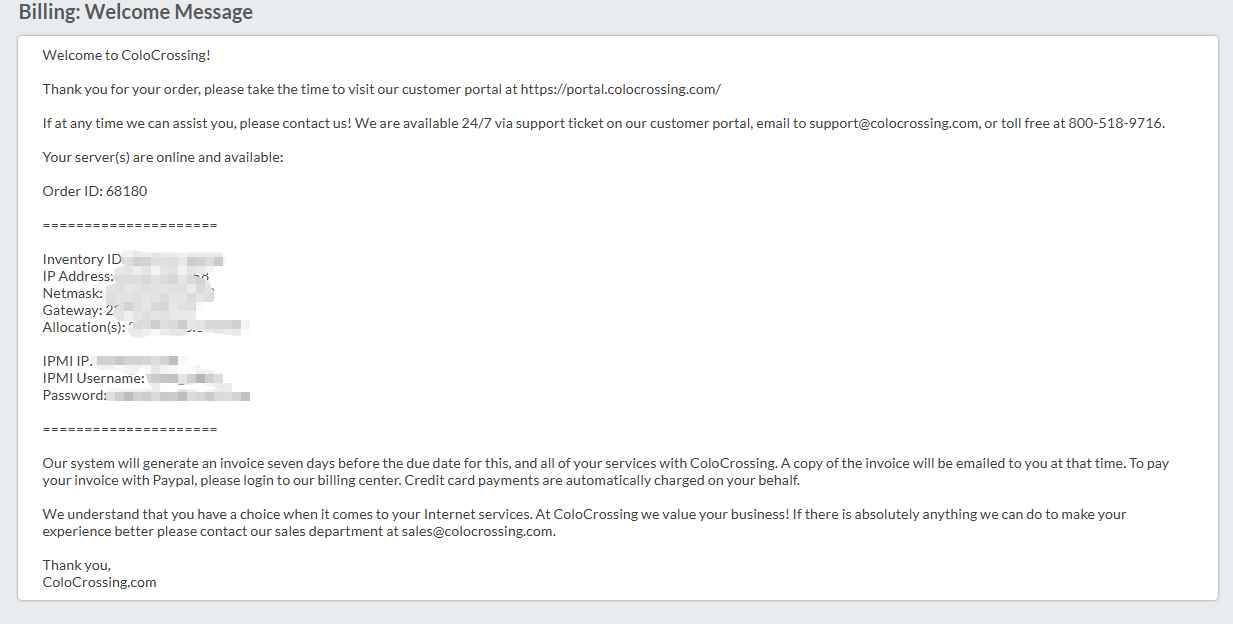
点击WELCOME MESSAGE ,获取服务器IP和IPMI的管理地址(在服务器完工交付后邮箱也会收到一封一样的服务器信息)
[
[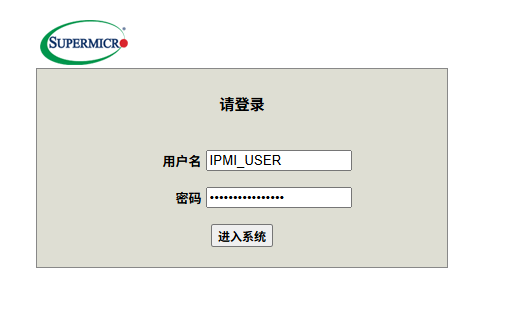
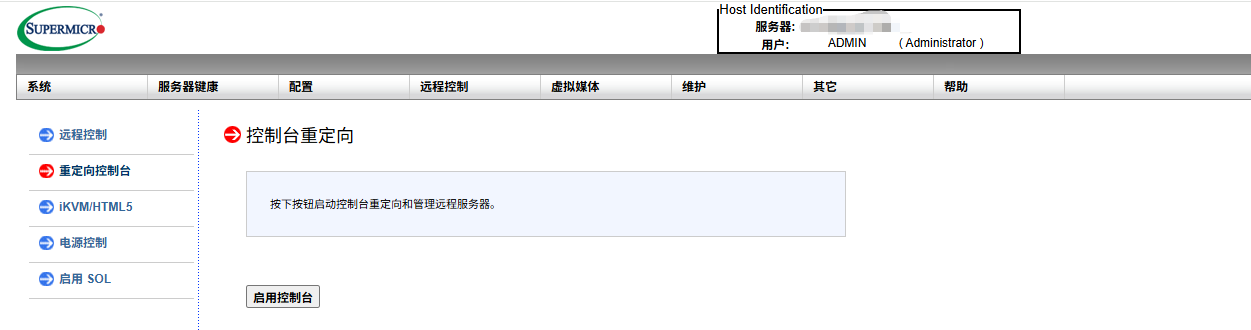
复制IPMI的ip,用浏览器访问,登录到IPMI系统
2.安装系统
所需软件:
openwebstart https://openwebstart.com/download
jdk1.8 https://www.oracle.com/java/technologies/downloads/#java8
在线系统镜像安装 https://boot.netboot.xyz/ipxe/netboot.xyz.iso
分别安装openwebstart和jdk1.8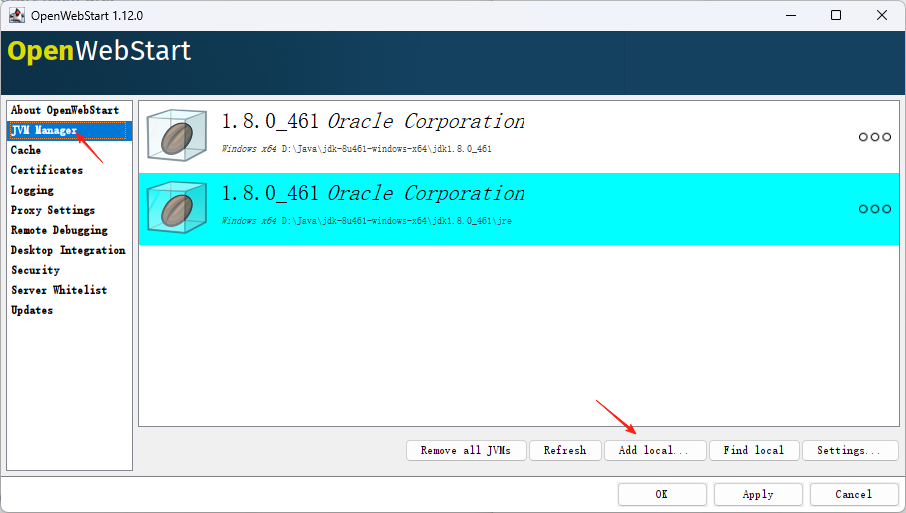
打开openwebstart配置,点击JVM Manager -> add local,找到刚刚安装的jdk1.8的路径,然后点击ok保存。
[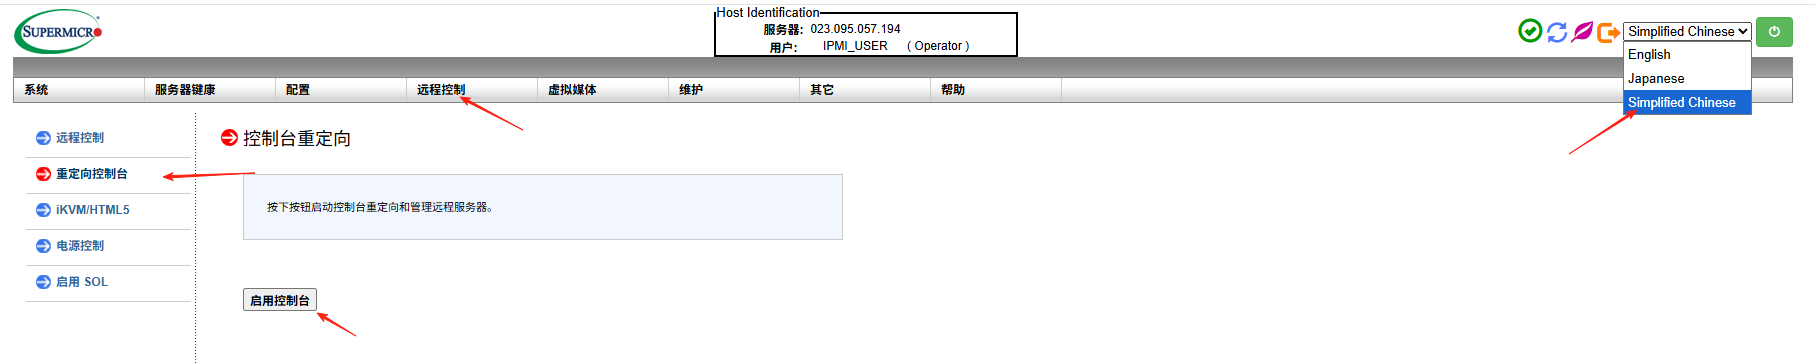
登录IPMI后台,切换成中文,点击远程控制->重定向控制台->启动控制台(下载launch.jnlp登录文件)
[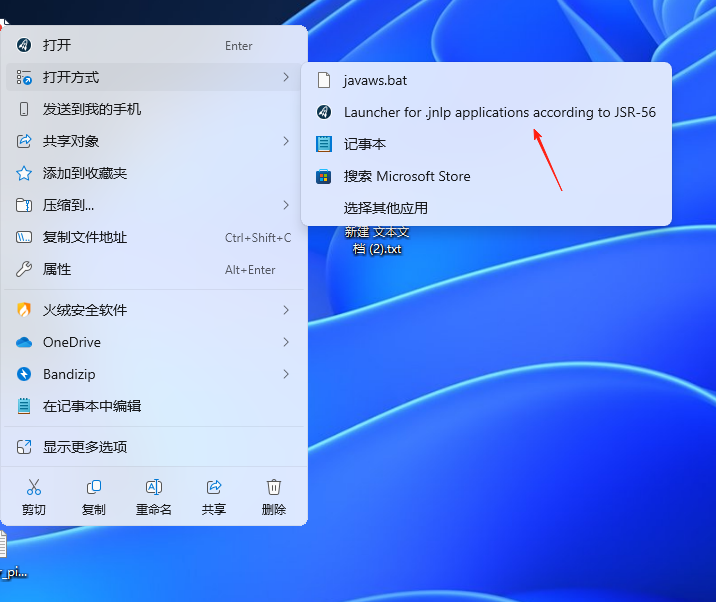
右键下载的launch.jnlp文件->打开方式->选择openwebstart打开
[
[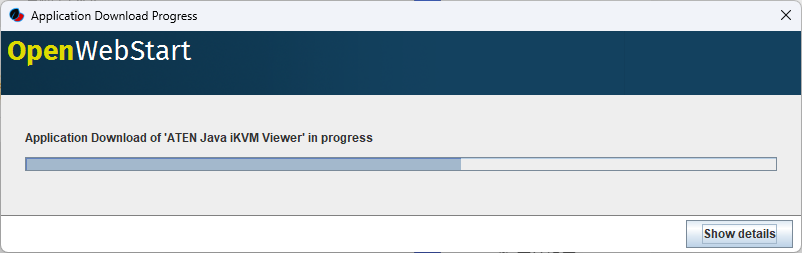
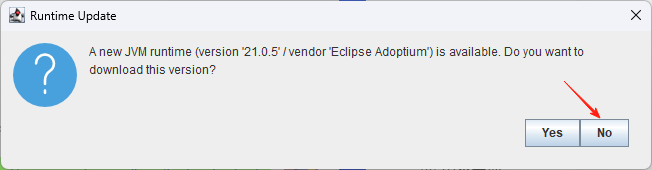
点击NO,等待下载成功
[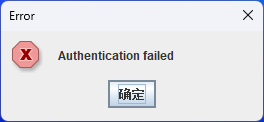
PS:如果遇到这种情况,请重新登录IPMI后台重新下载launch.jnlp文件
[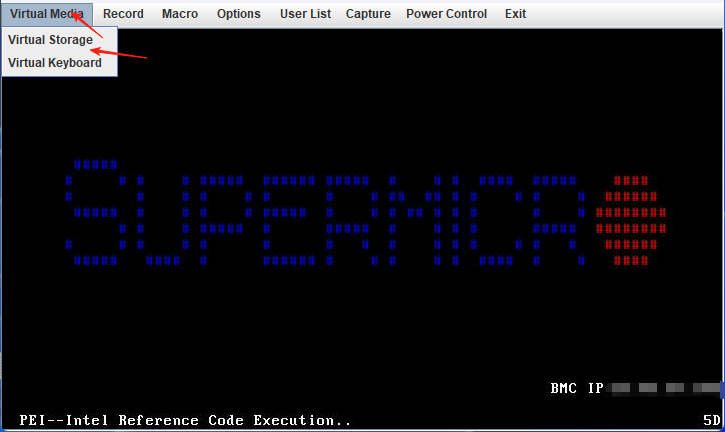
点击Virtual Media->Virtual Storage
[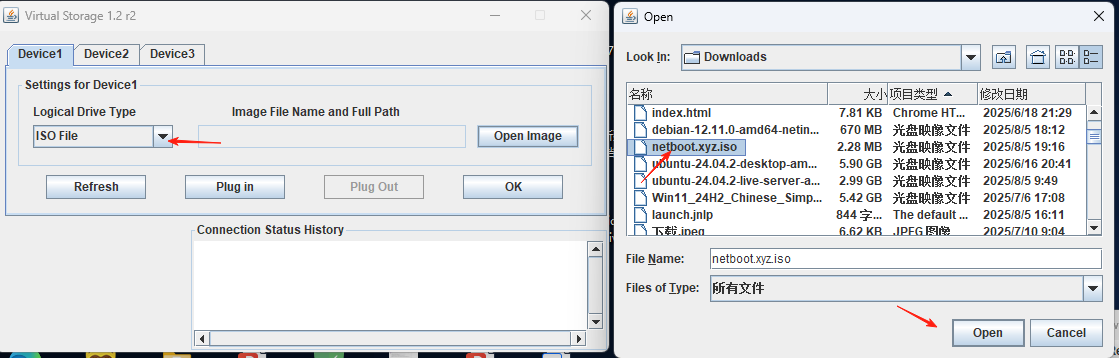
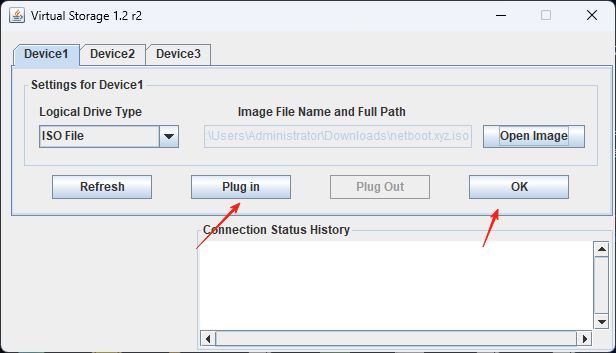
Drive Type 选择 Iso File,然后点击 open image找到刚刚下载的netboot.xyz.iso镜像文件,点击open
[
[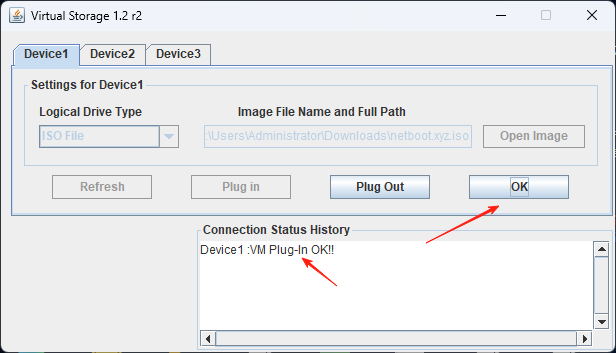
点击plug in后 下方状态显示plug in ok ,然后点击ok
[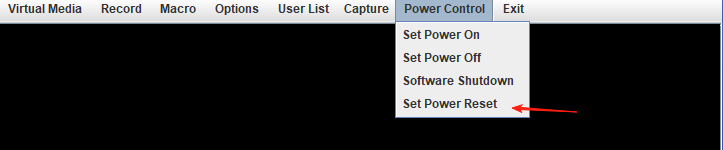
点击power control->set power reset,等待重启
[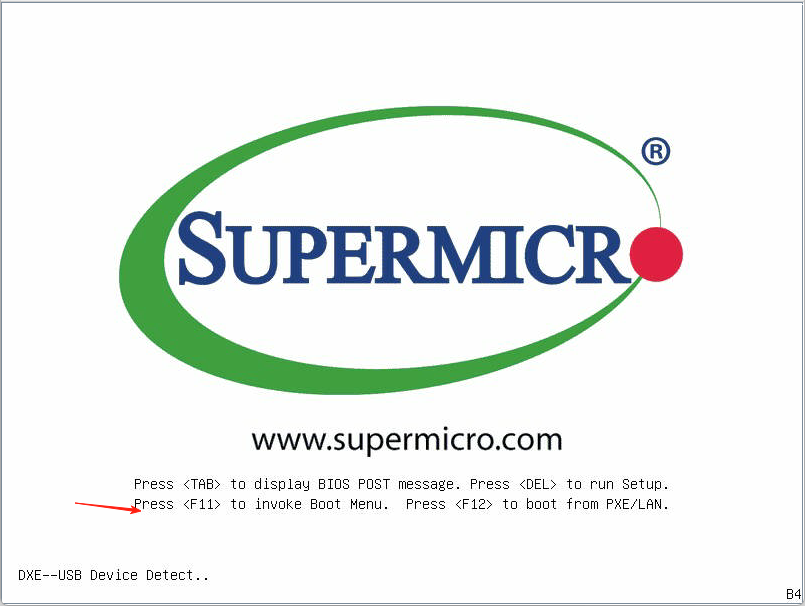
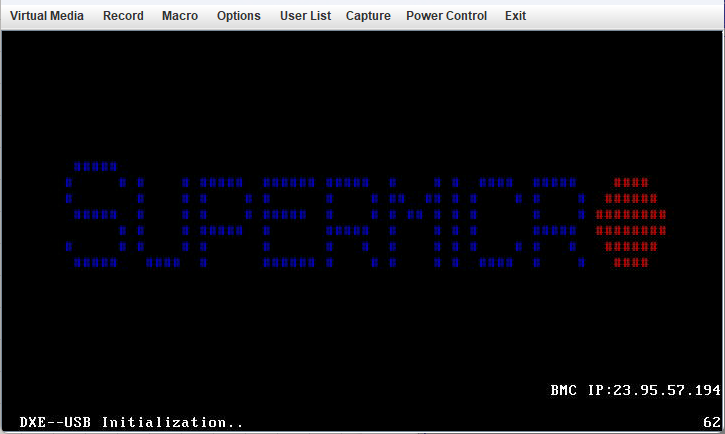
按F11选择启动方式
[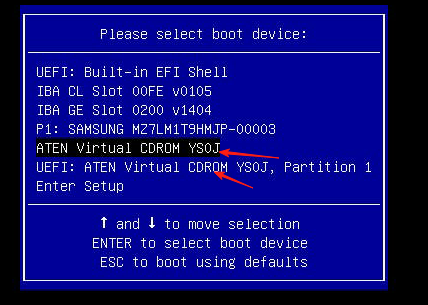
选择ATEN Virtual CDROM YS0J,选择UEFI也可以,我选的是UEFI方式,选择CDROM这种好像联网有问题,然后耐心等待一下
[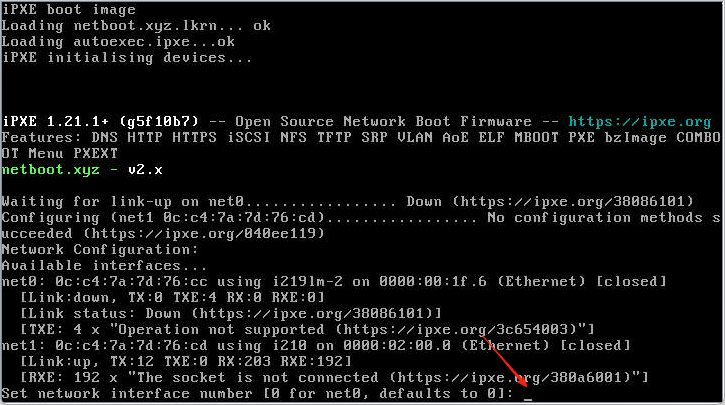
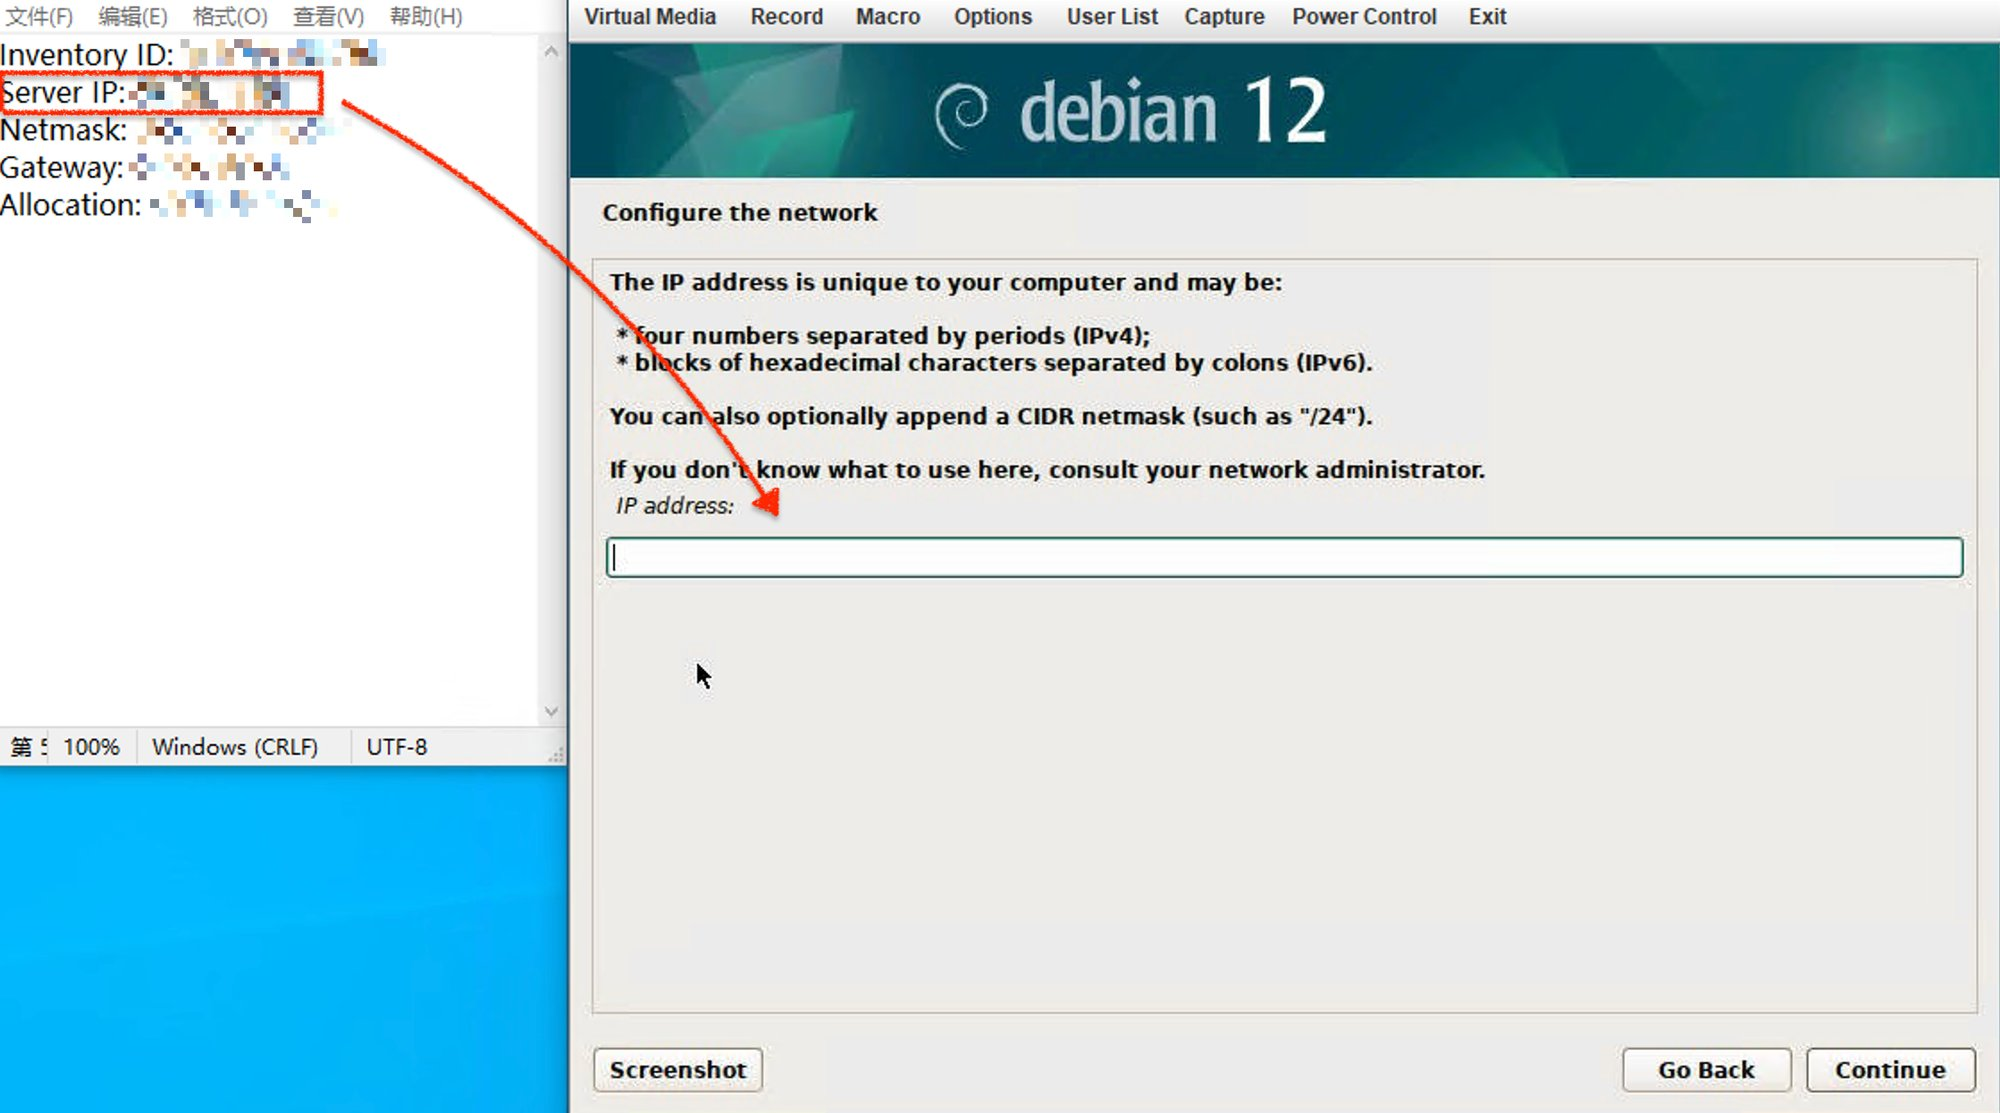
到这里选择0即可,接下来配置ip相关信息,用来连接网络下载镜像,ip信息参考刚开始在后台获取的ip信息
[
[
如果0不行就输入1
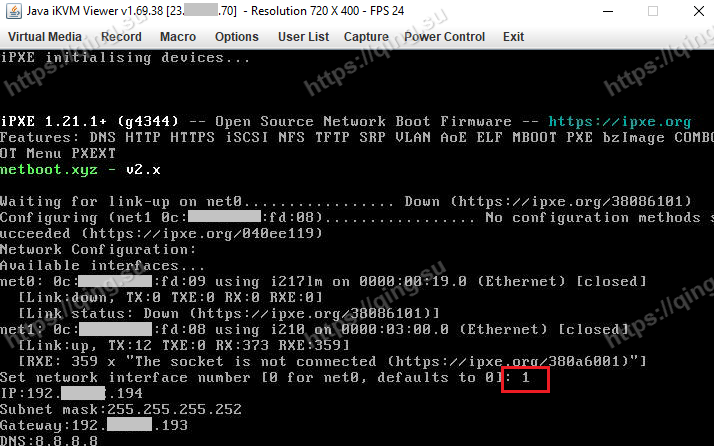
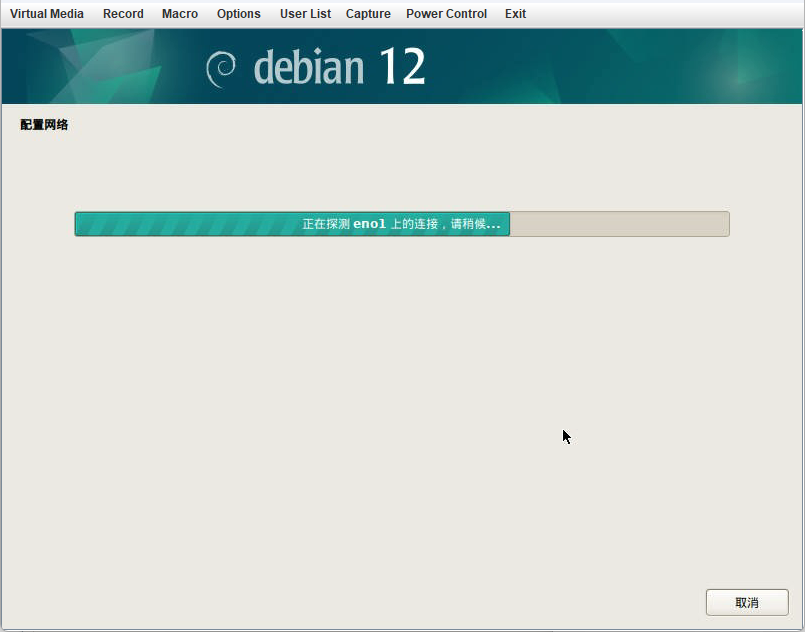
根据系统提示,依次输入服务器IP地址 (192.3.100.194), 子网掩码 (255.255.255.252), 网关地址 (192.3.100.193), DNS服务器 (8.8.8.8), 就成功配置好了网络。连通之后,就进入了操作系统选择安装界面了。
[
[
[
[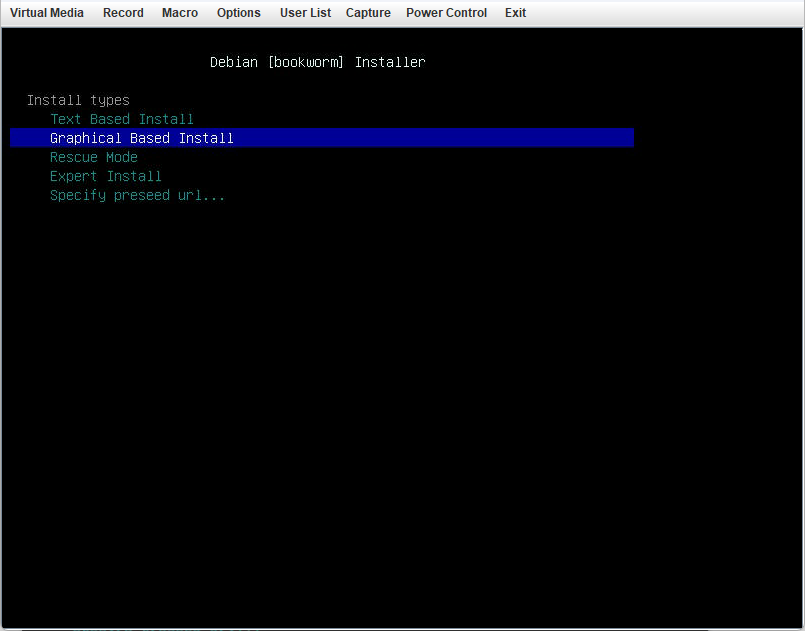
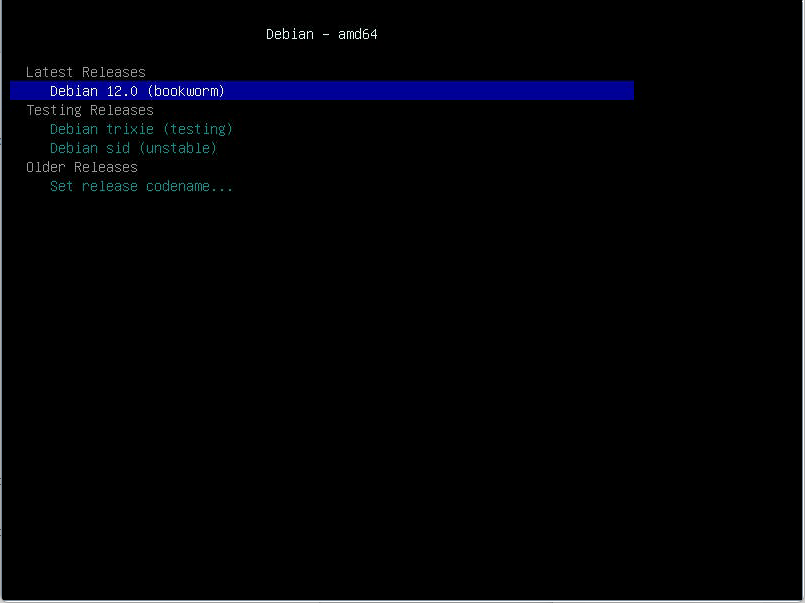
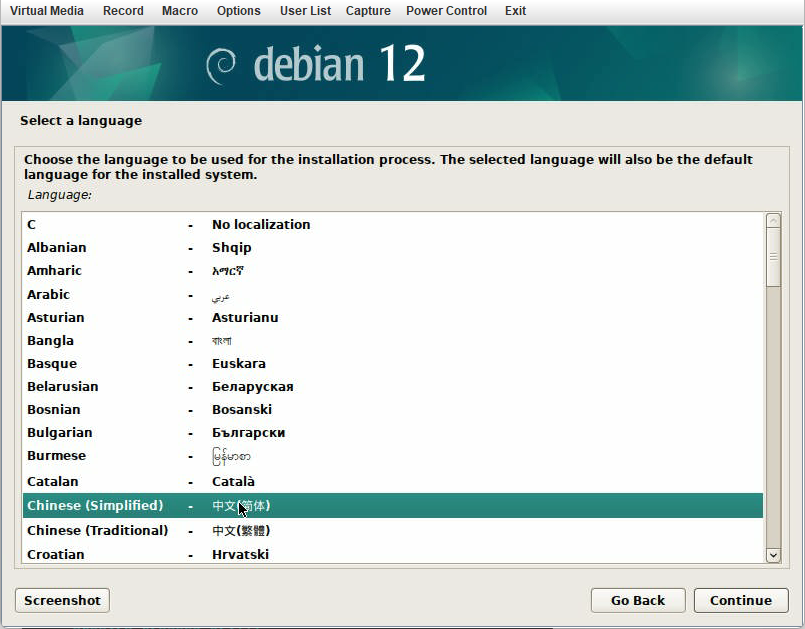
选择自己需要安装的系统,这里我安装的是linux(debian12图形化安装为演示)
[
[
[
[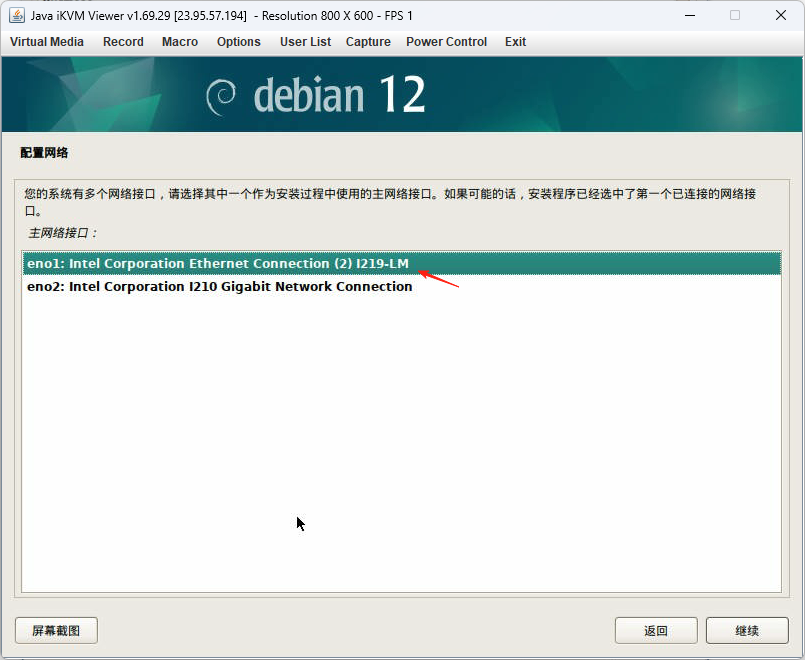
这里我选择的是第二个网卡,第一个连不上网,有可能你的是第一个,自行测试,如果第一个不行就返回重新配置网络(选择第二个在测试)
[
[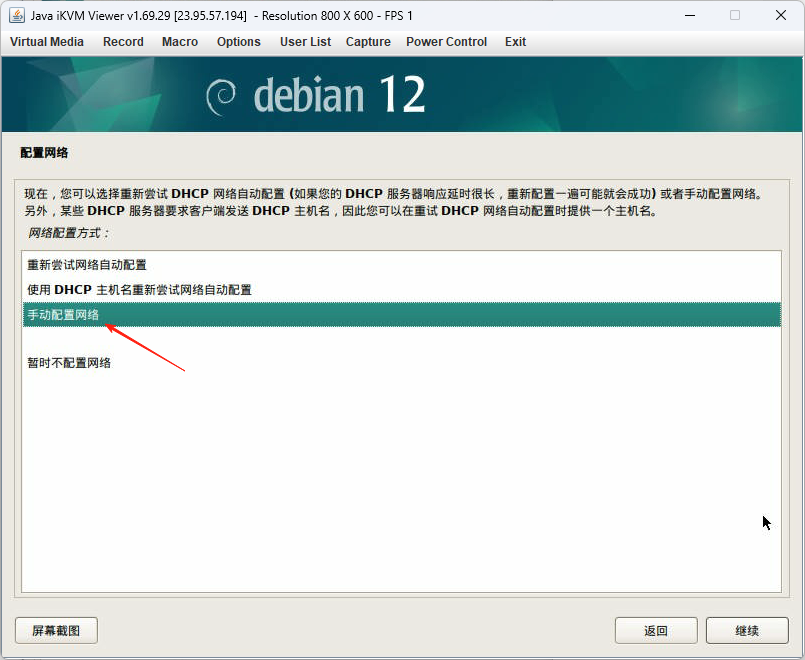
手动配置网络
[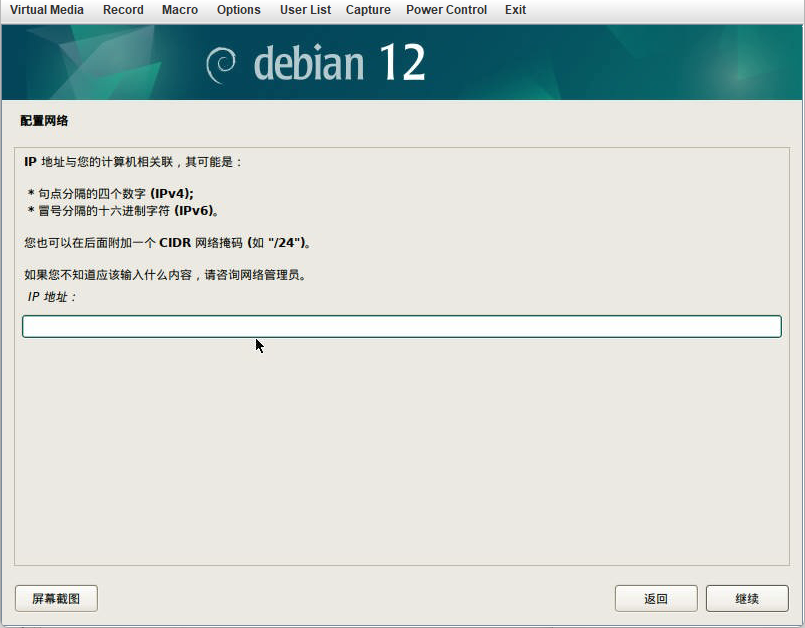
ip地址填写ccs后台 welcome message里给的ip相关信息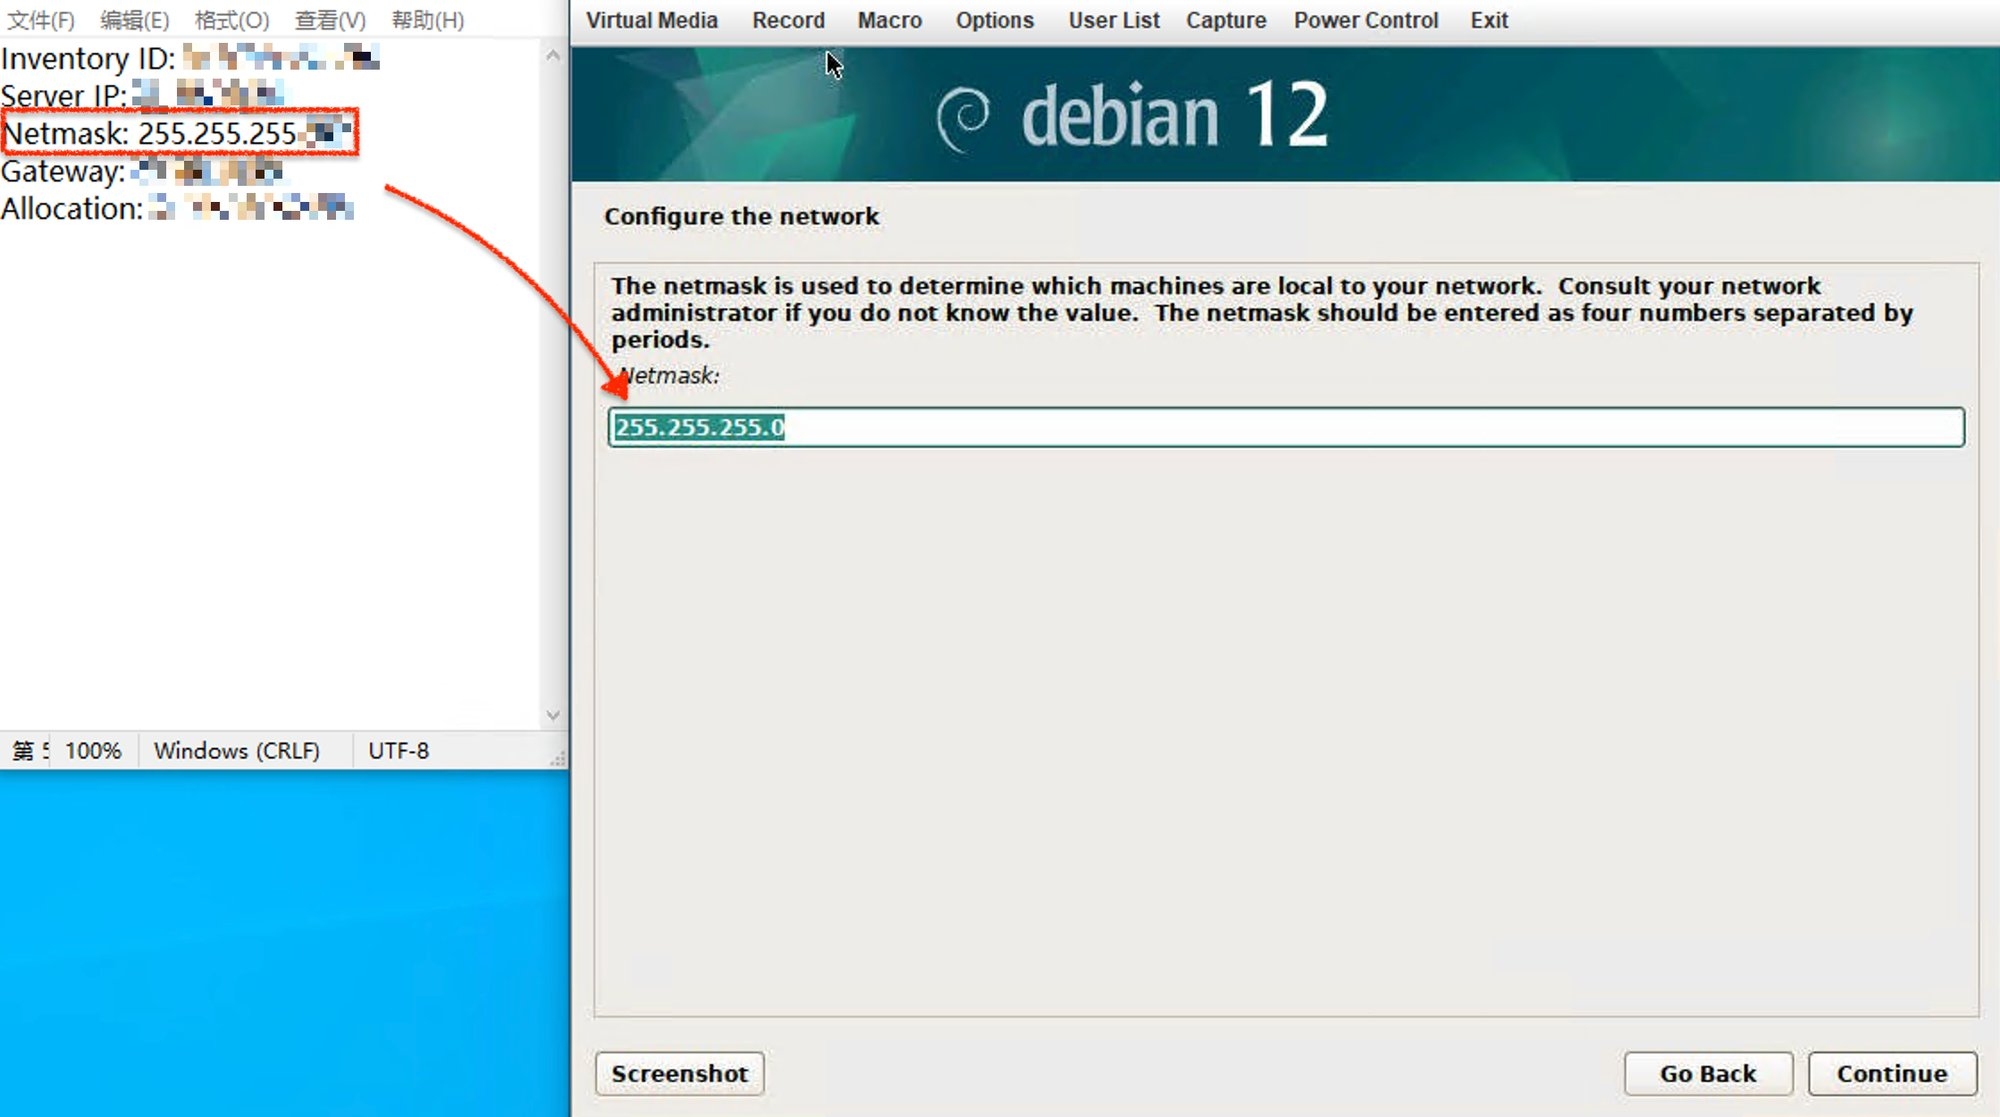
[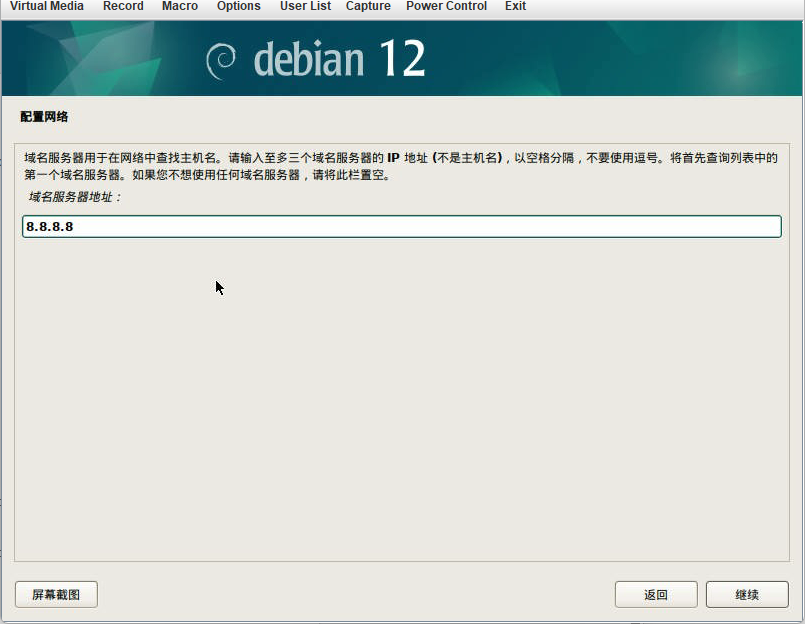
改成谷歌的:8.8.8.8
[
[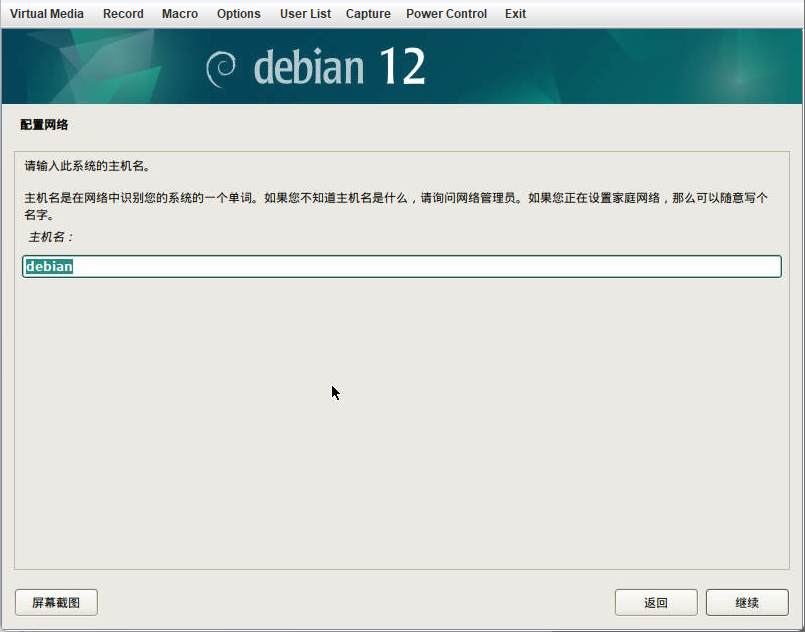
之后输入hostname(随意填写)。这里你可以取个自定义名称
[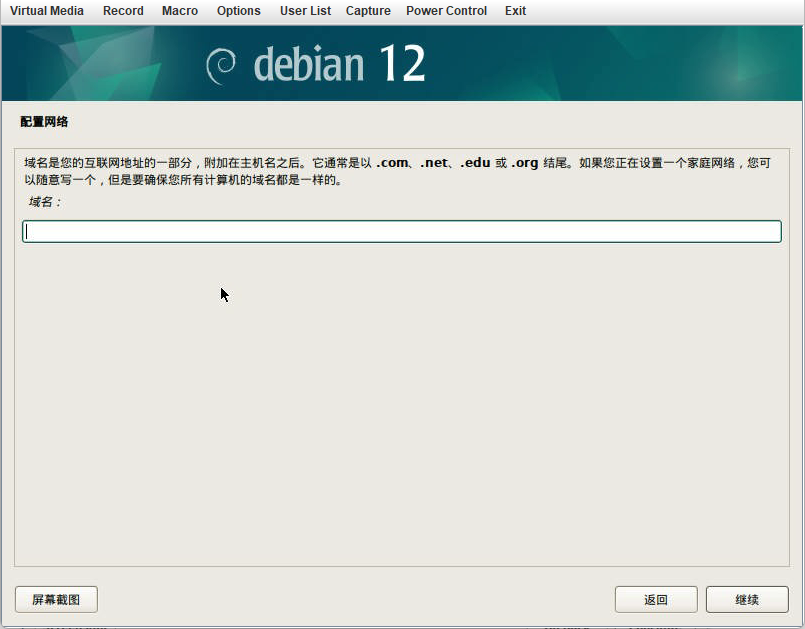
域名可填可不填
[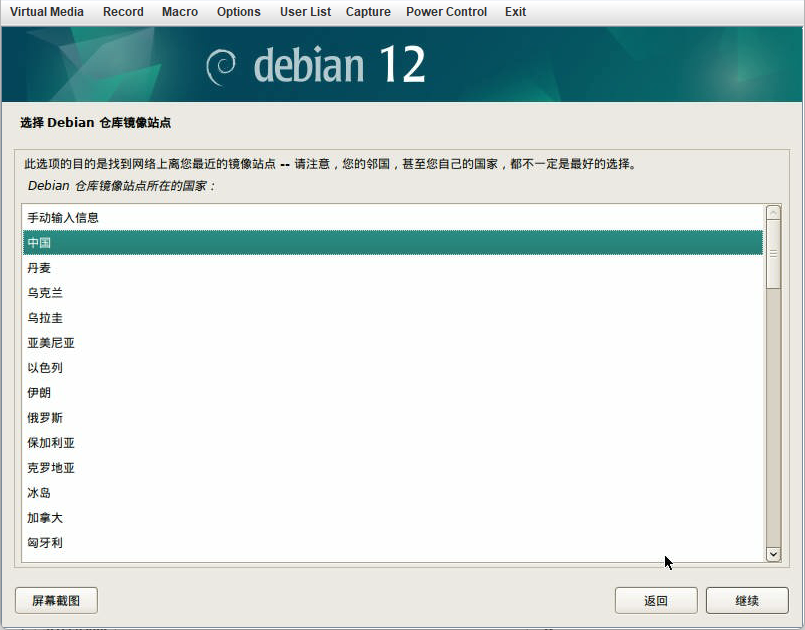
这里镜像节点选择美国,因为机房在洛杉矶,镜像站点选择官方默认
[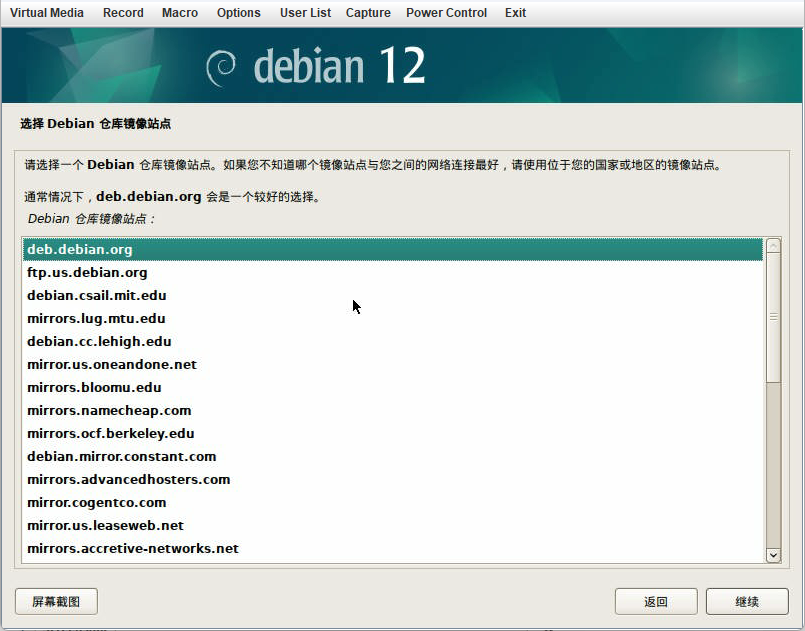
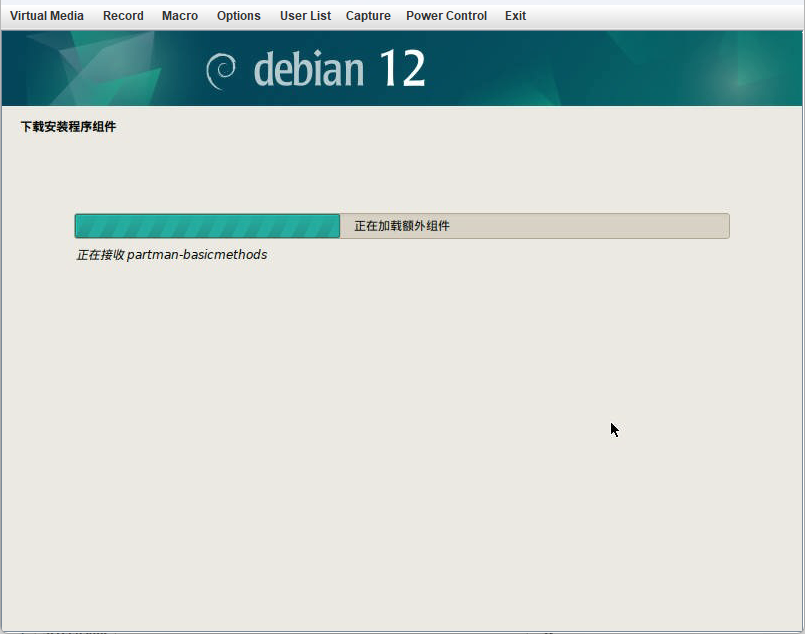
默认官方镜像,可自行选择自己常用的
[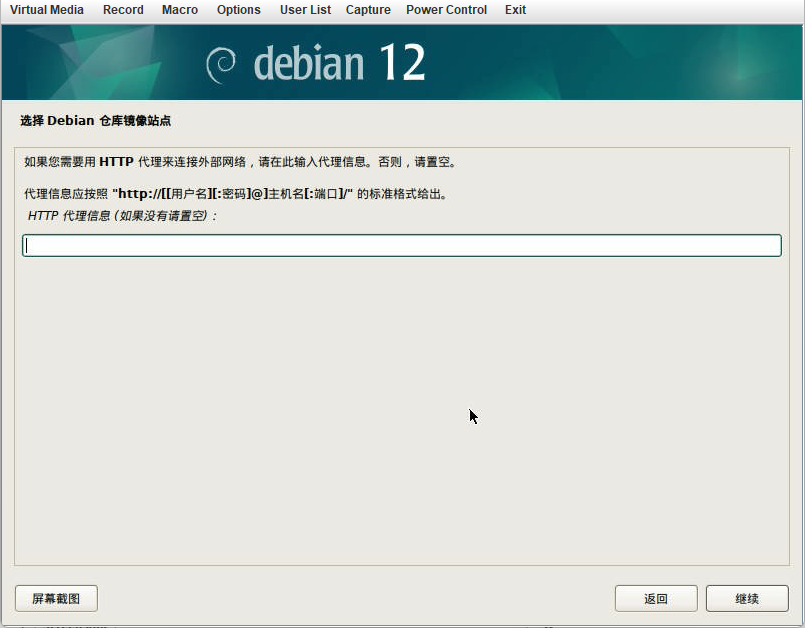
机房在美国,代理就不用啦,留空即可
[
[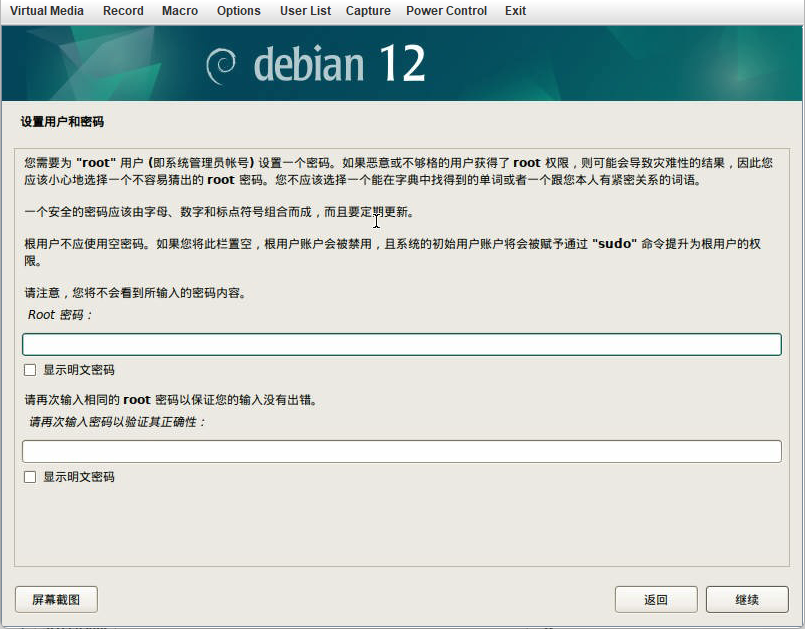
设置root密码
[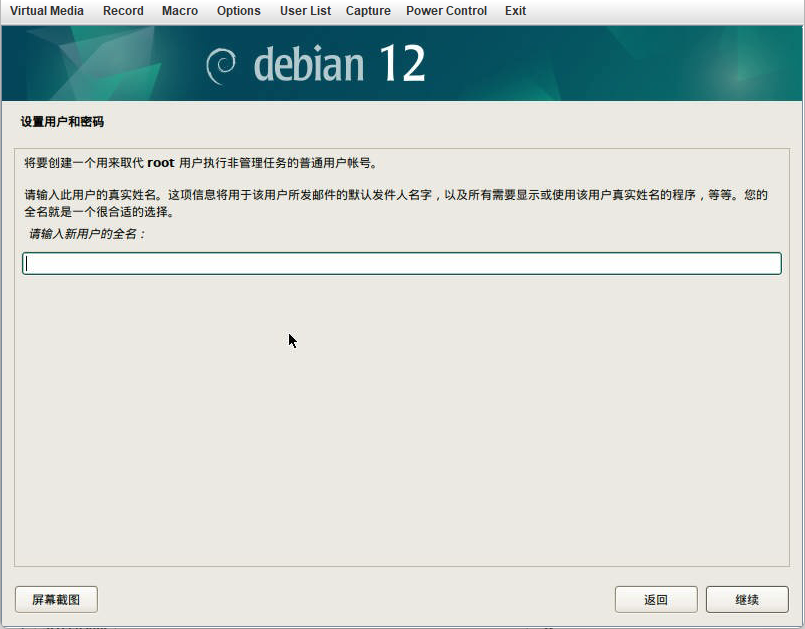
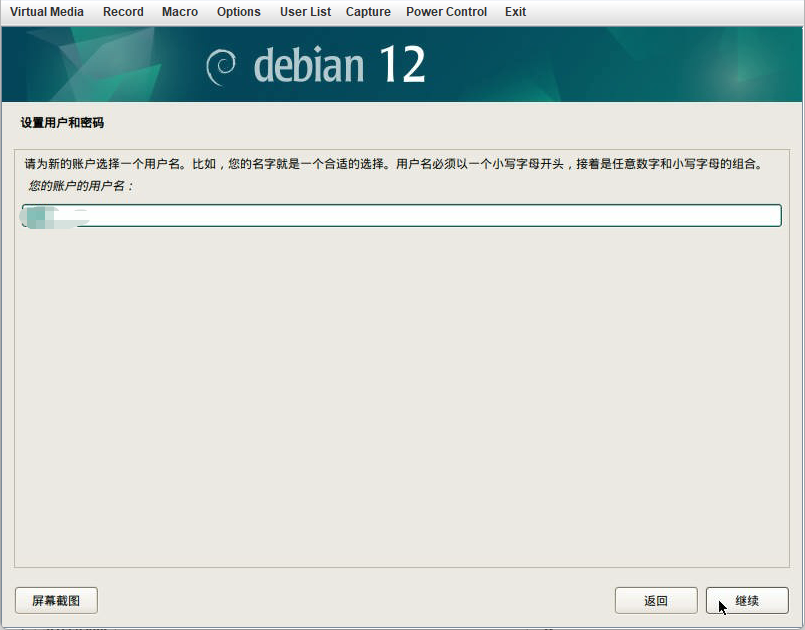
设置普通用户名
[
[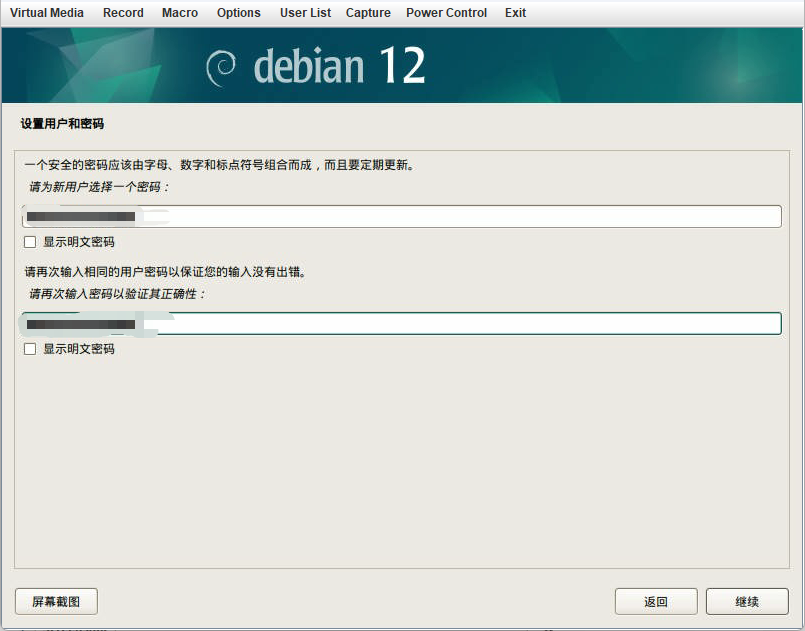
设置普通用户名的密码
[
[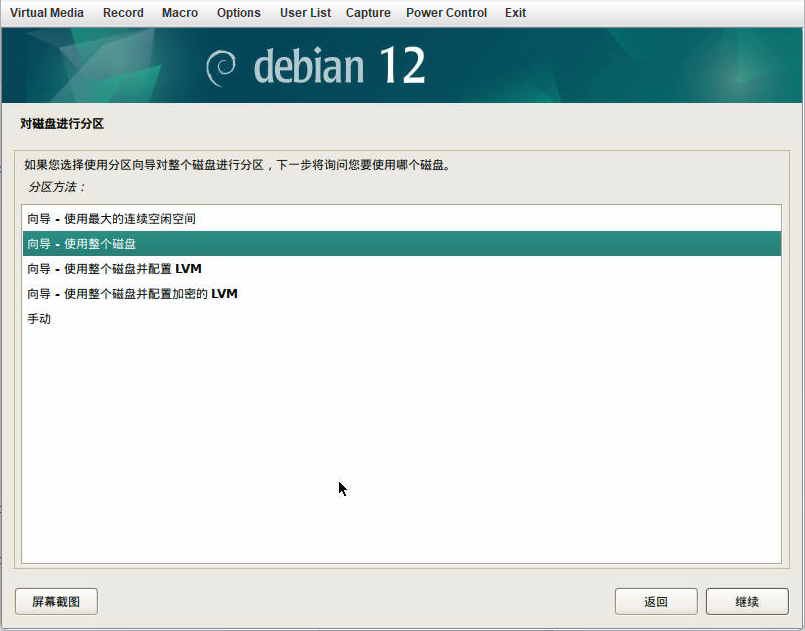
使用整个磁盘
[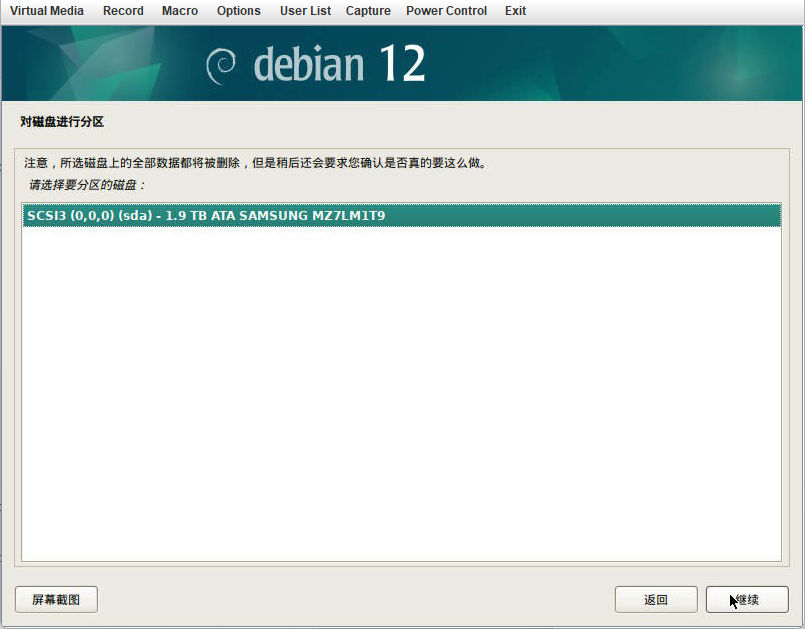
选择一个磁盘,默认我只有一个盘,就选择第一个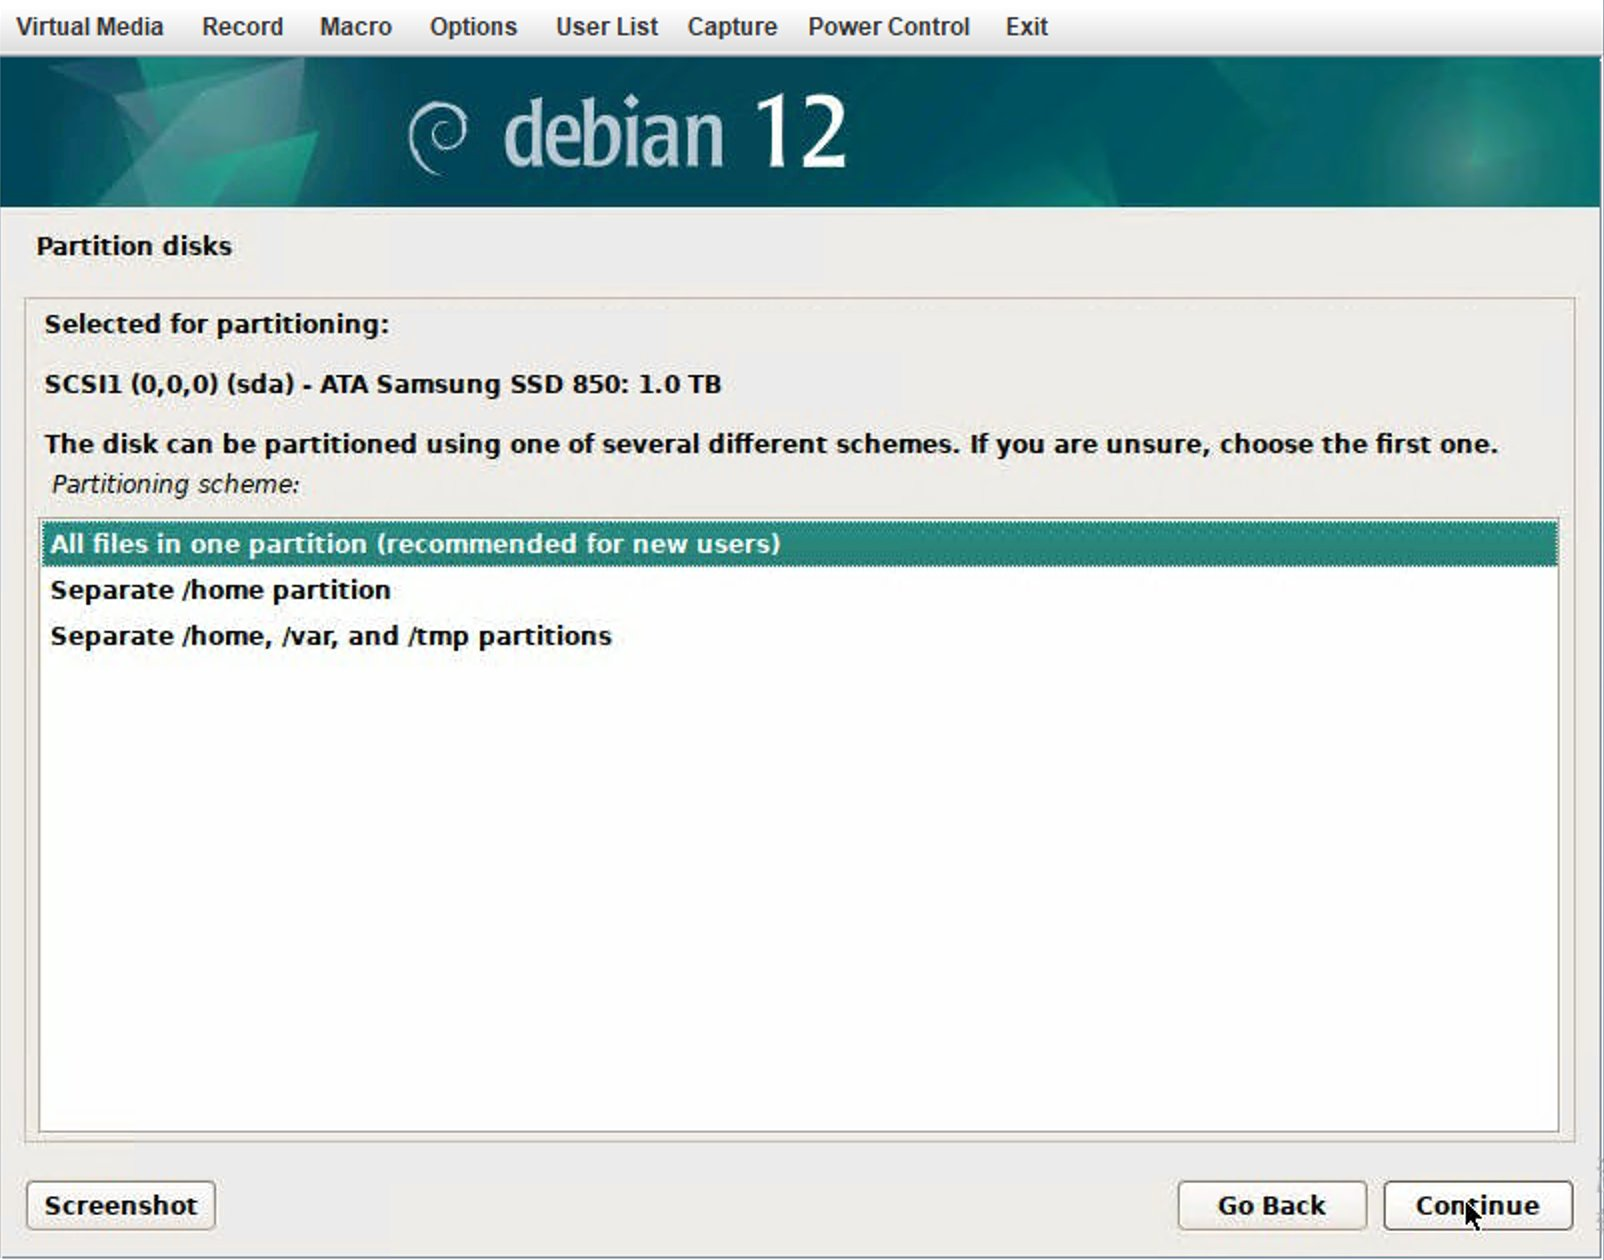
选择第一个
[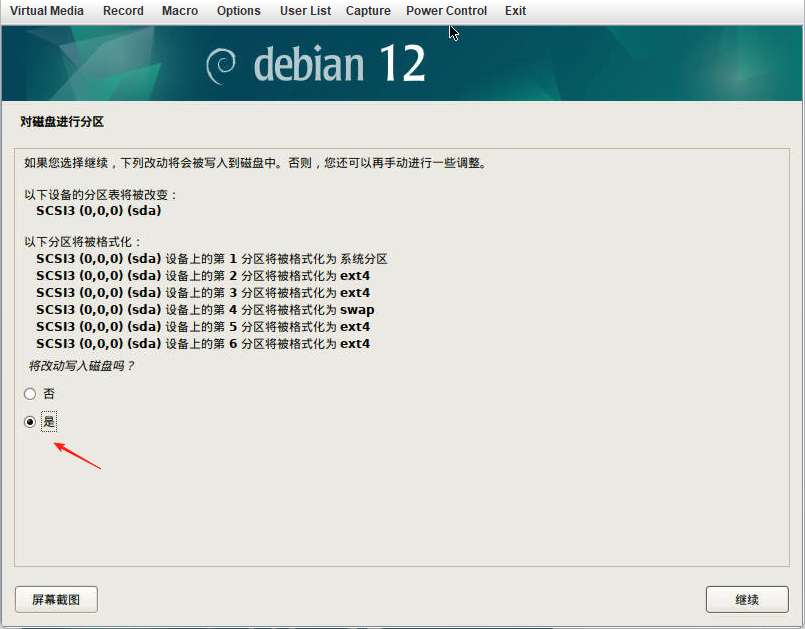
这里需要选择yes,确认磁盘分区的修改
[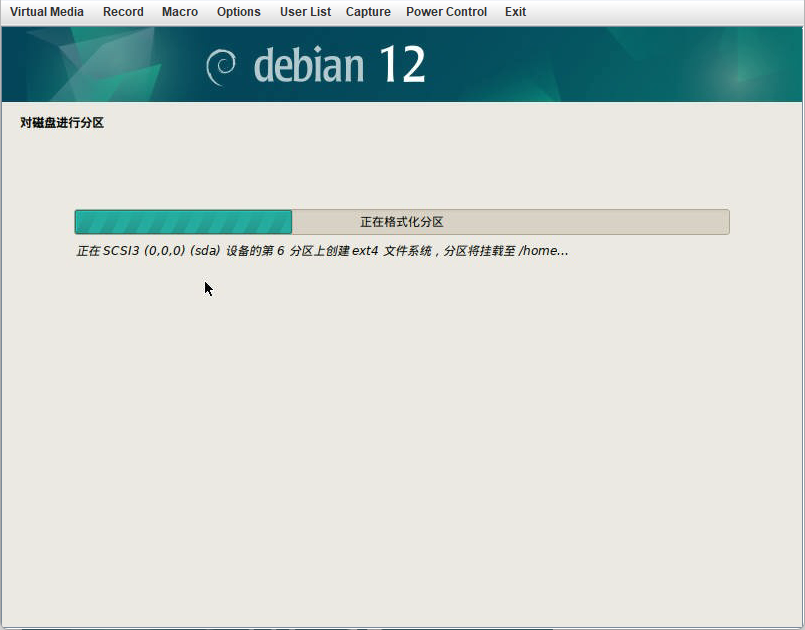
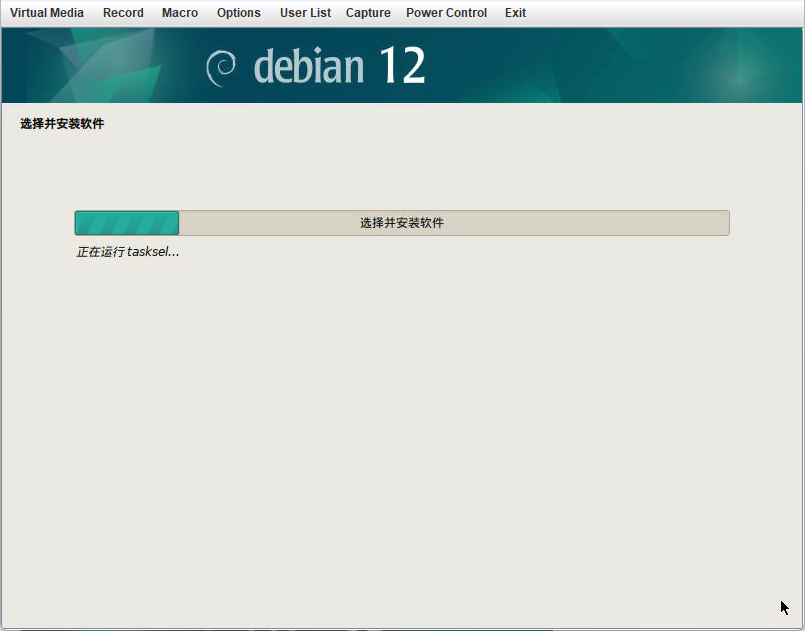
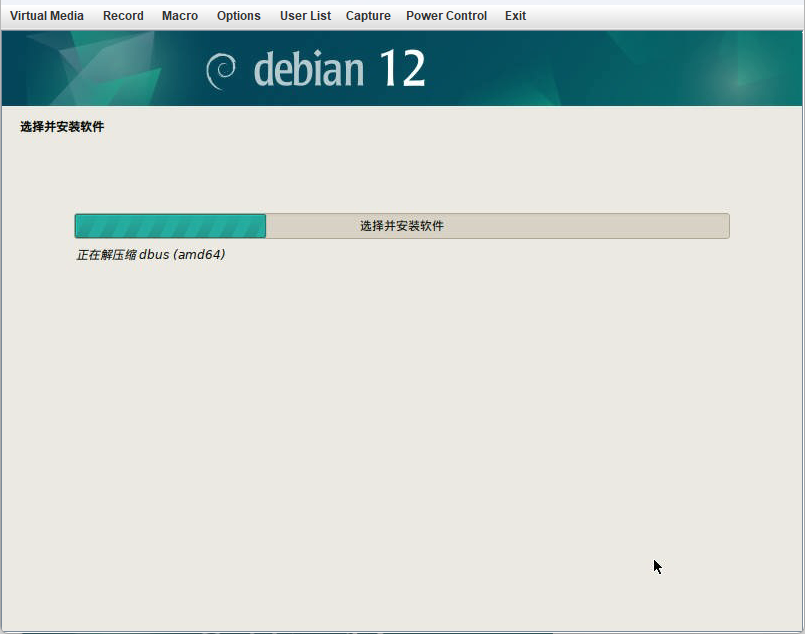
耐心等待格式化,然后会自动安装系统
[
[
选择否,然后继续安装
[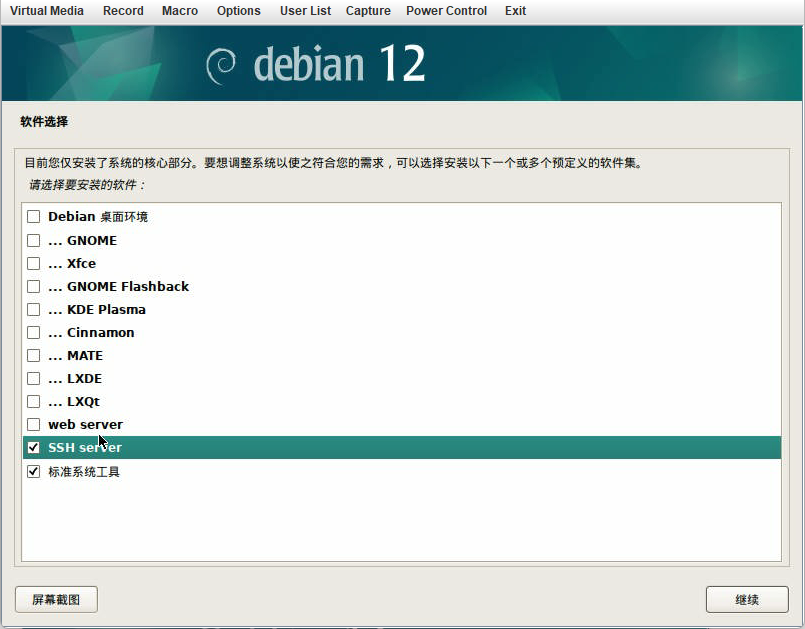
默认选择SSH server和standard system utillities(标准系统工具)即可,如果需要桌面环境,选择第一个(debian桌面环境)和第二个(gnome)即可
[
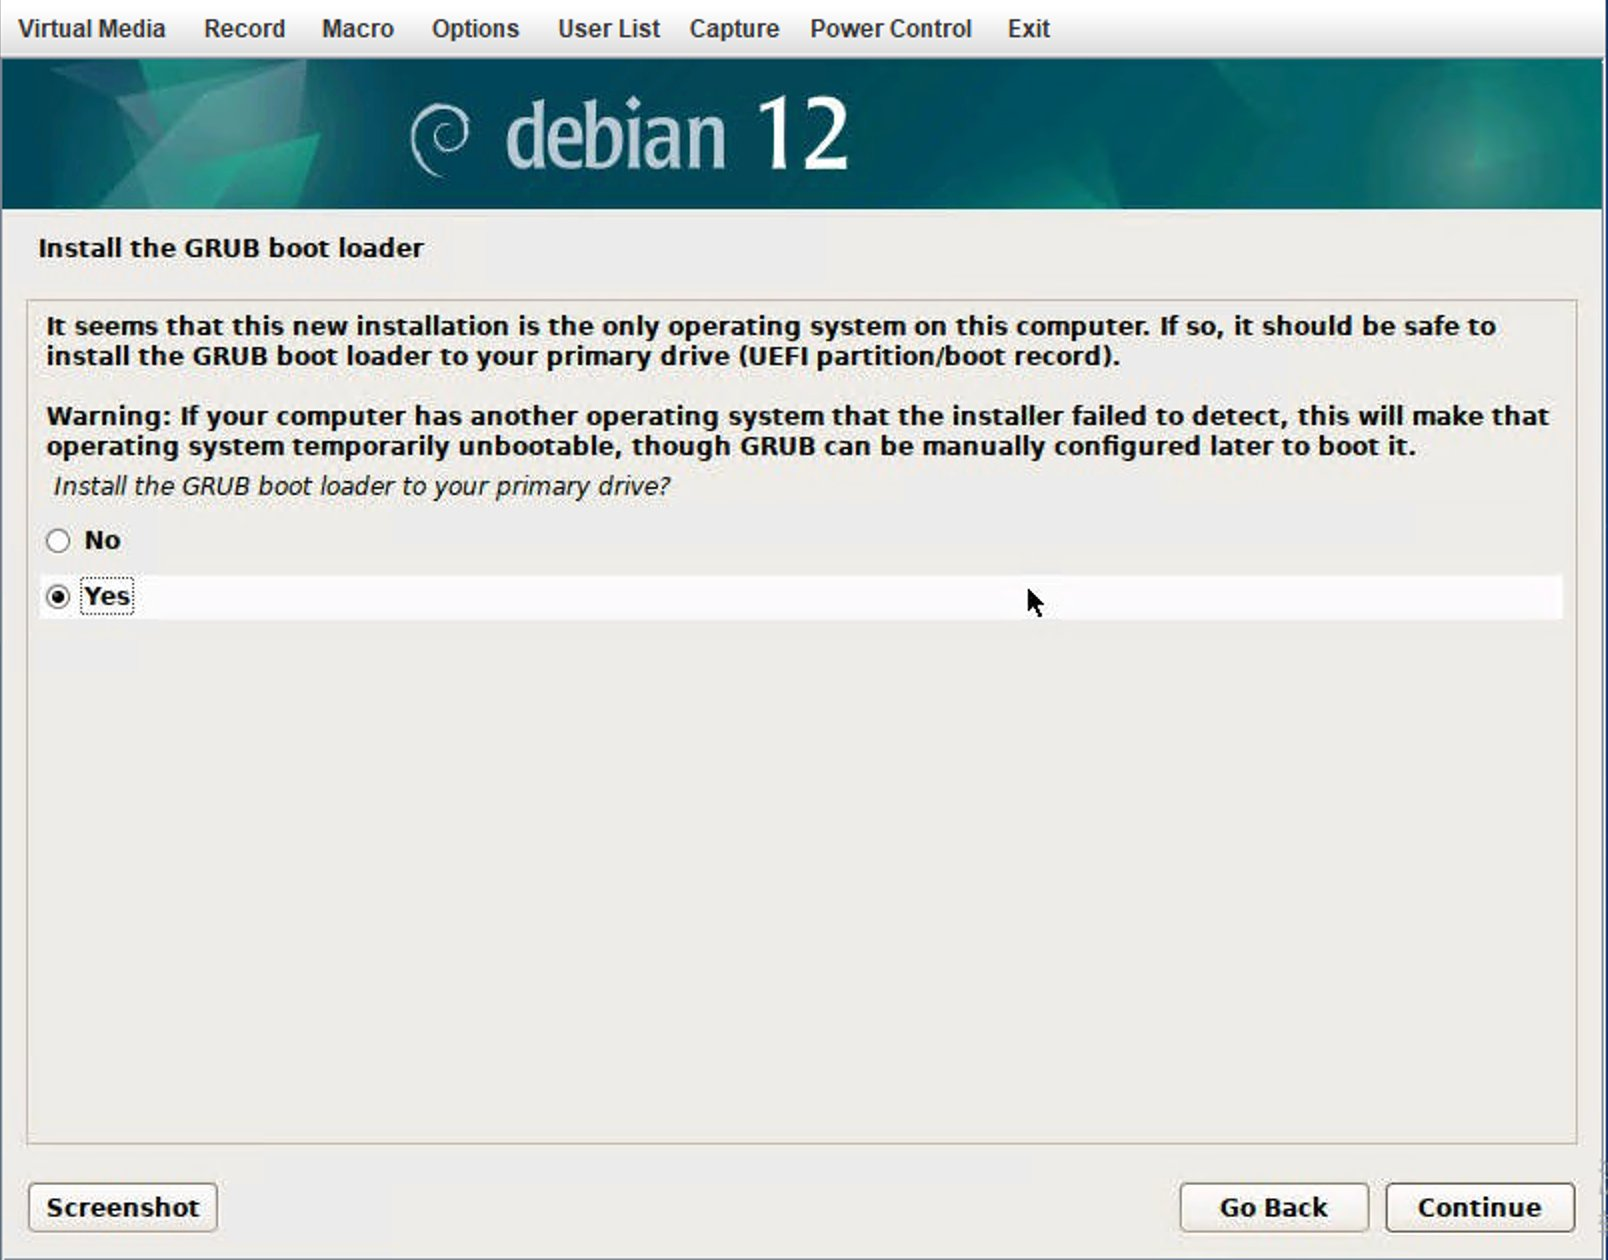
进入最终的安装和配置,在如下页面选择yes
在这里选择已有的磁盘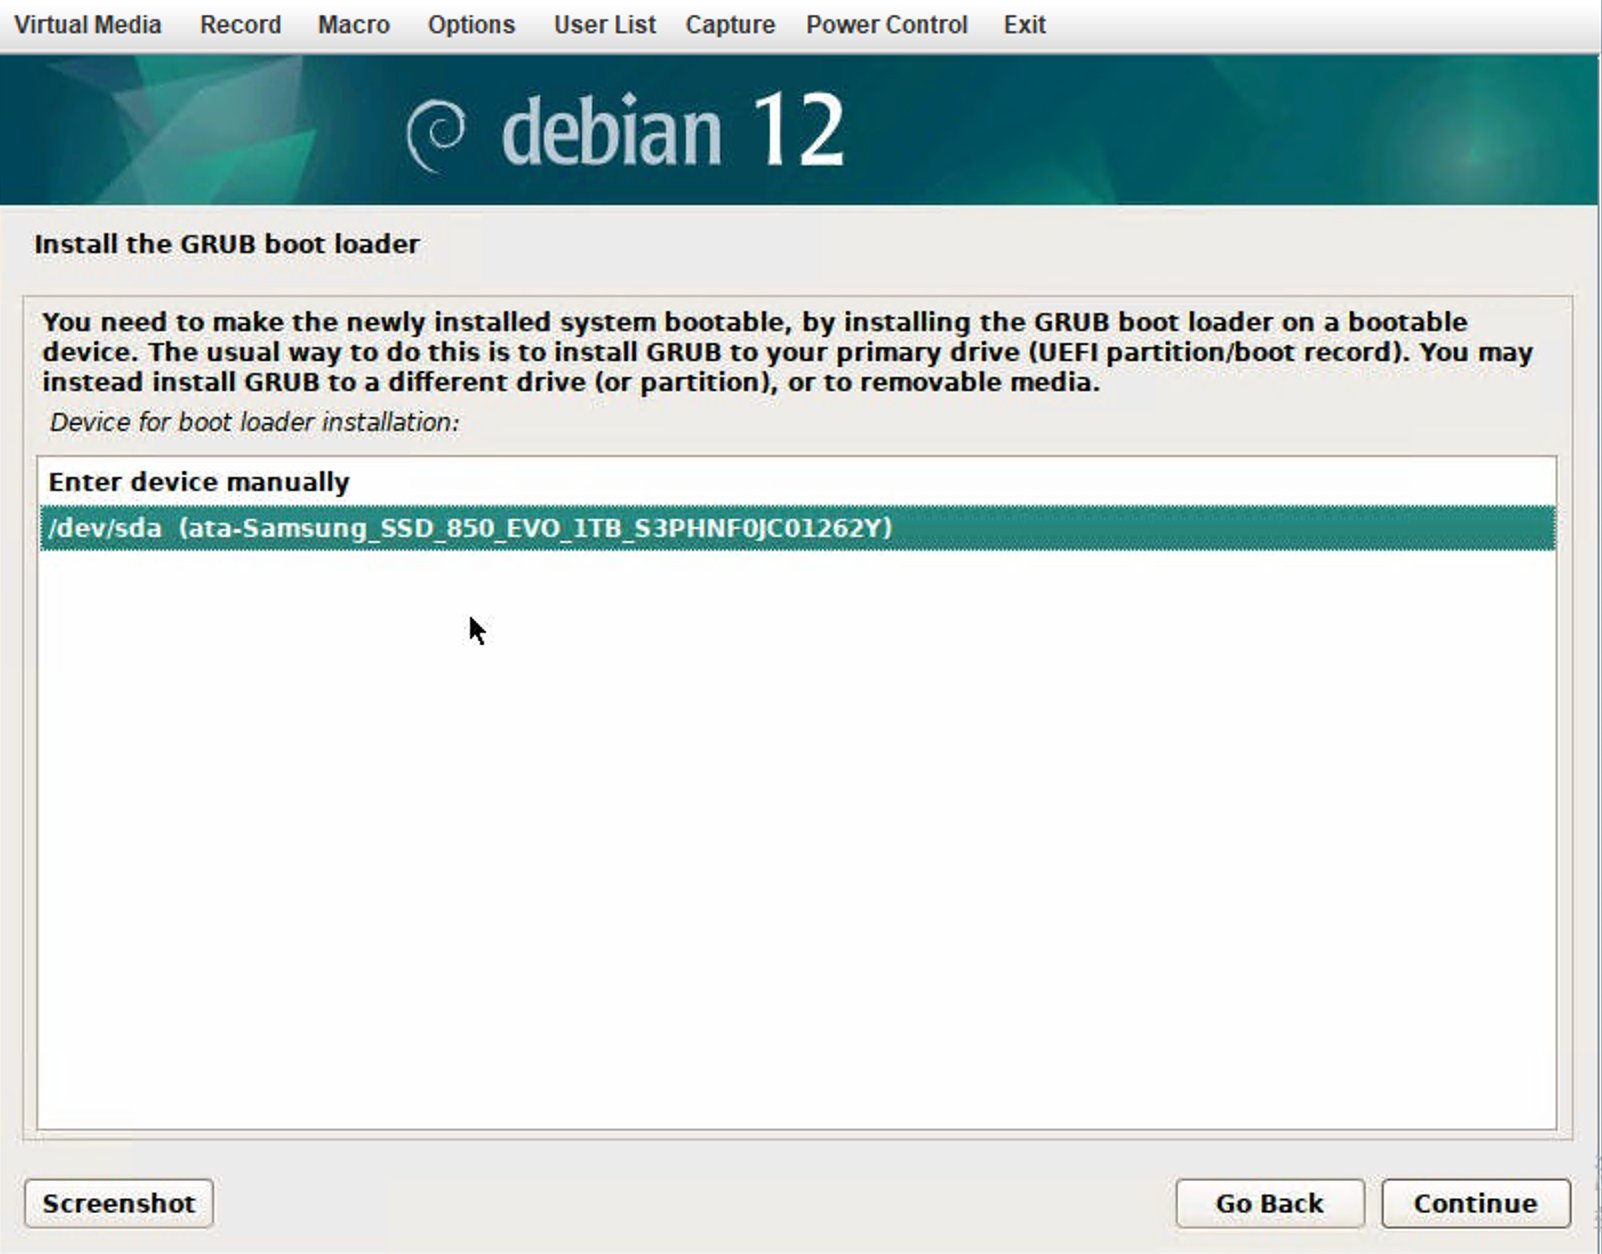
进入最后的安装,并注意停留在如下页面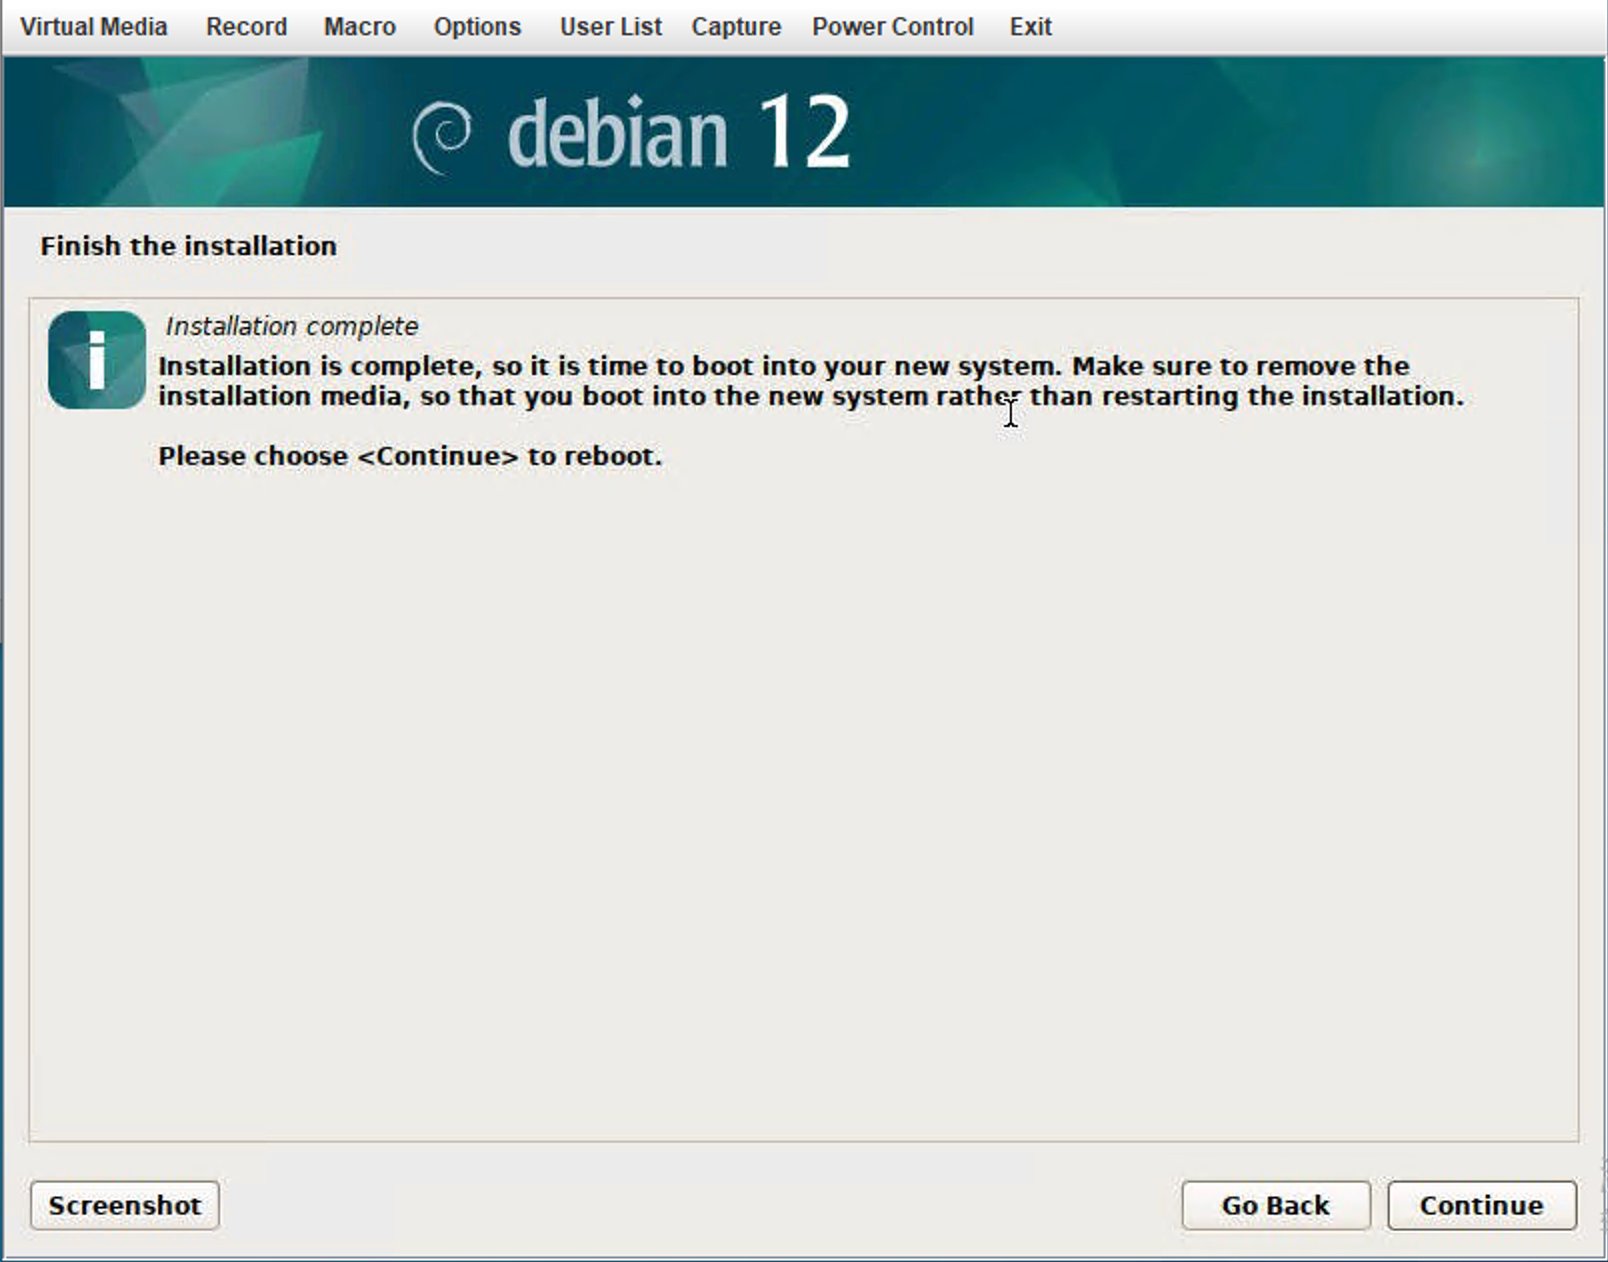
[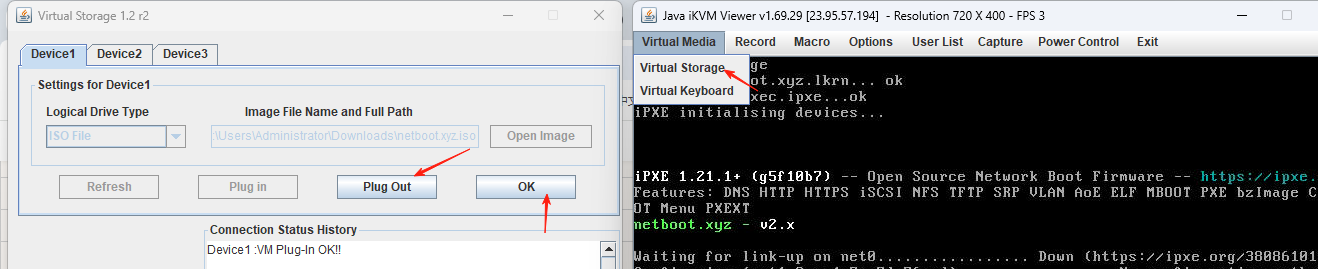
按照上面的方法卸载挂载盘(点击Virtual Media->Virtual Storage->plug out->ok)
[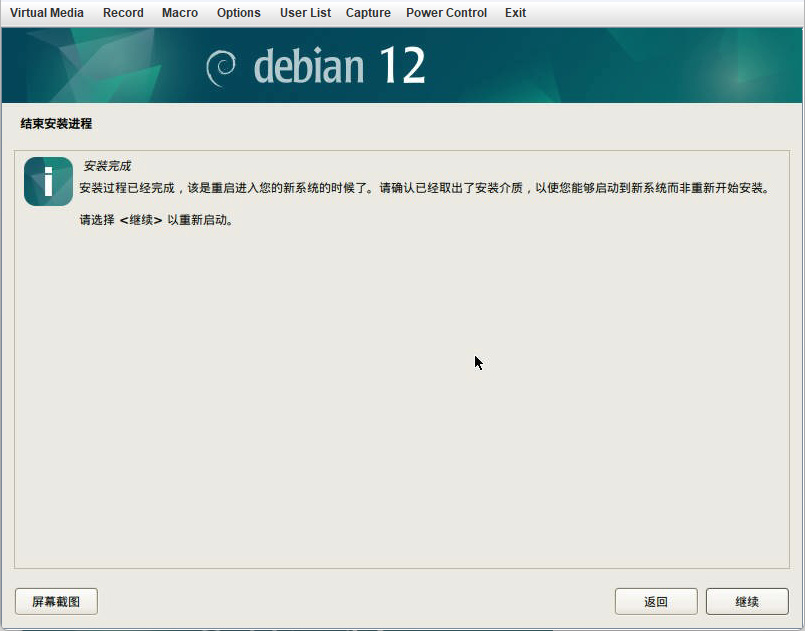
然后再点继续,重启服务器
DD系统
完成后可以DD任何想要的系统,对于杜甫较为推荐使用如下脚本DD
1 | wget --no-check-certificate -qO InstallNET.sh 'https://raw.githubusercontent.com/leitbogioro/Tools/master/Linux_reinstall/InstallNET.sh' && chmod a+x InstallNET.sh && bash InstallNET.sh -debian 12 -pwd 'password' |
之后就可以通过root登陆或者DD其他系统啦.🎉
[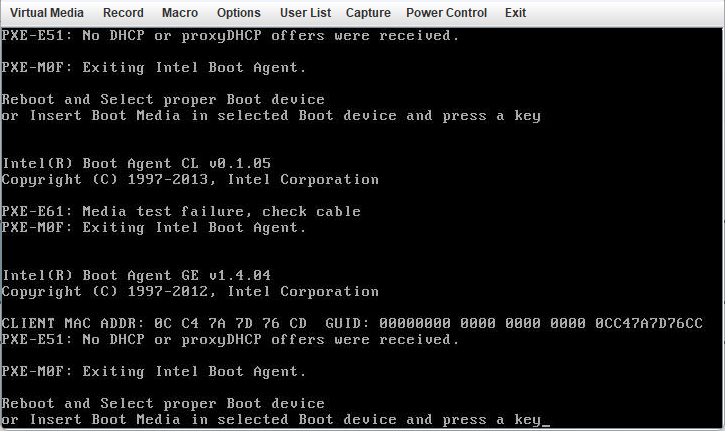
如果重启出现以上问题,请进入bios更改启动选项,
[
点击power control->set power reset,等待重启,然后启动时快速按键盘中的del进入bios设置
[
[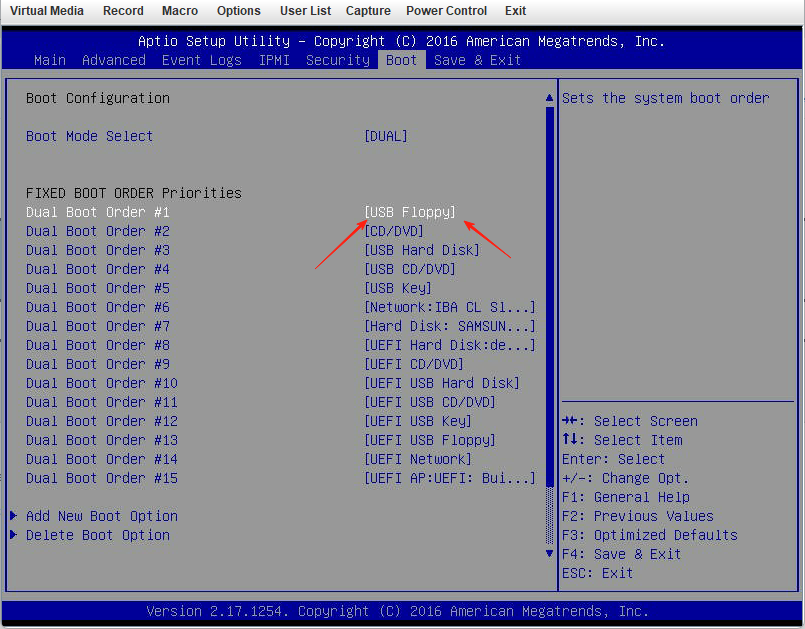
选择第一个
[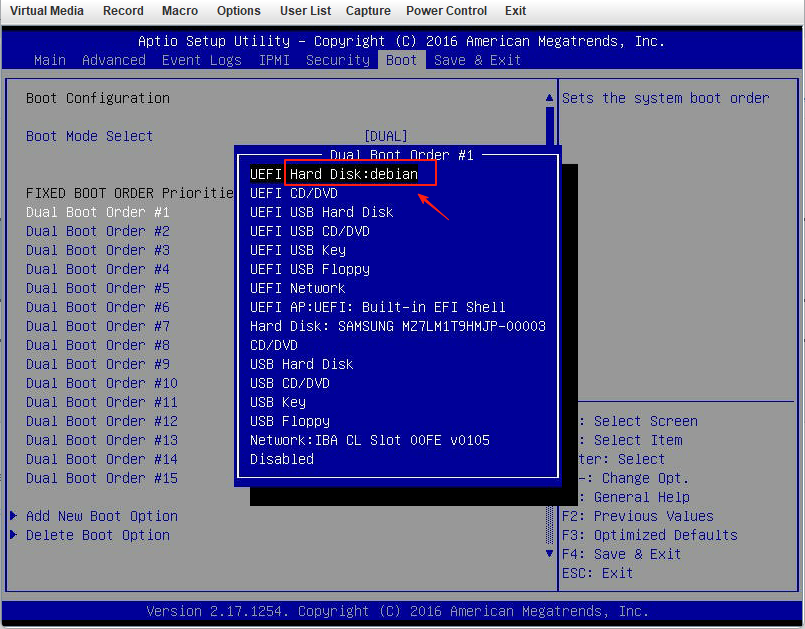
找到含有debian的选项,然后回车
[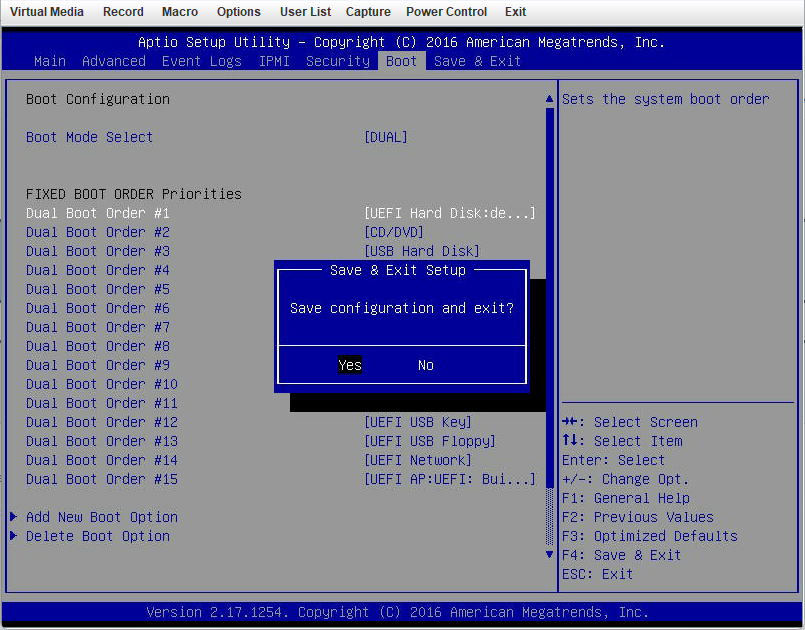
F4保存,选择yes,然后系统会自动重启,等待进入系统即可
[
[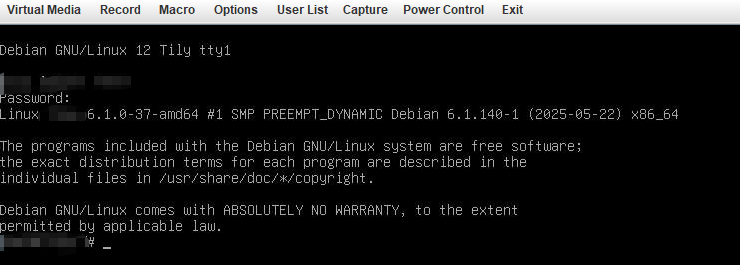
输入前面设置的普通用户名的密码,即可登录到服务器中,至此,ccs独服系统安装完毕。
如果需要dd其他系统参考:
1 | wget --no-check-certificate -qO InstallNET.sh 'https://raw.githubusercontent.com/leitbogioro/Tools/master/Linux_reinstall/InstallNET.sh' && chmod a+x InstallNET.sh && bash InstallNET.sh -debian 12 -pwd 'password' |
3.解锁IPMI管理员权限 (可选)
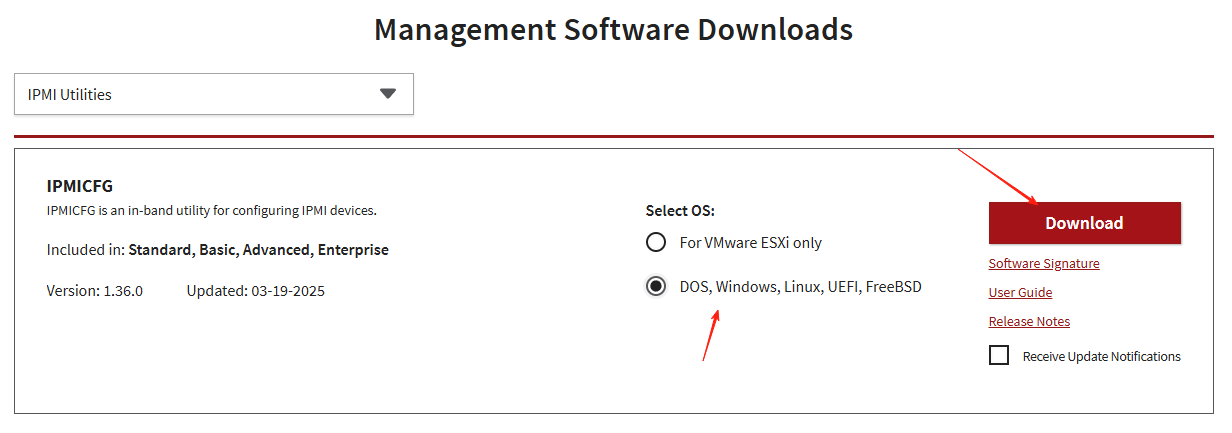
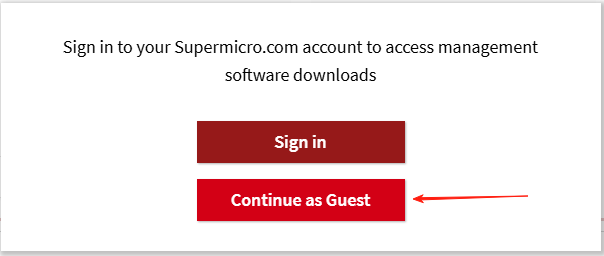
下载地址:https://www.supermicro.org.cn/en/support/resources/downloadcenter/smsdownload?category=IPMI
[
[
[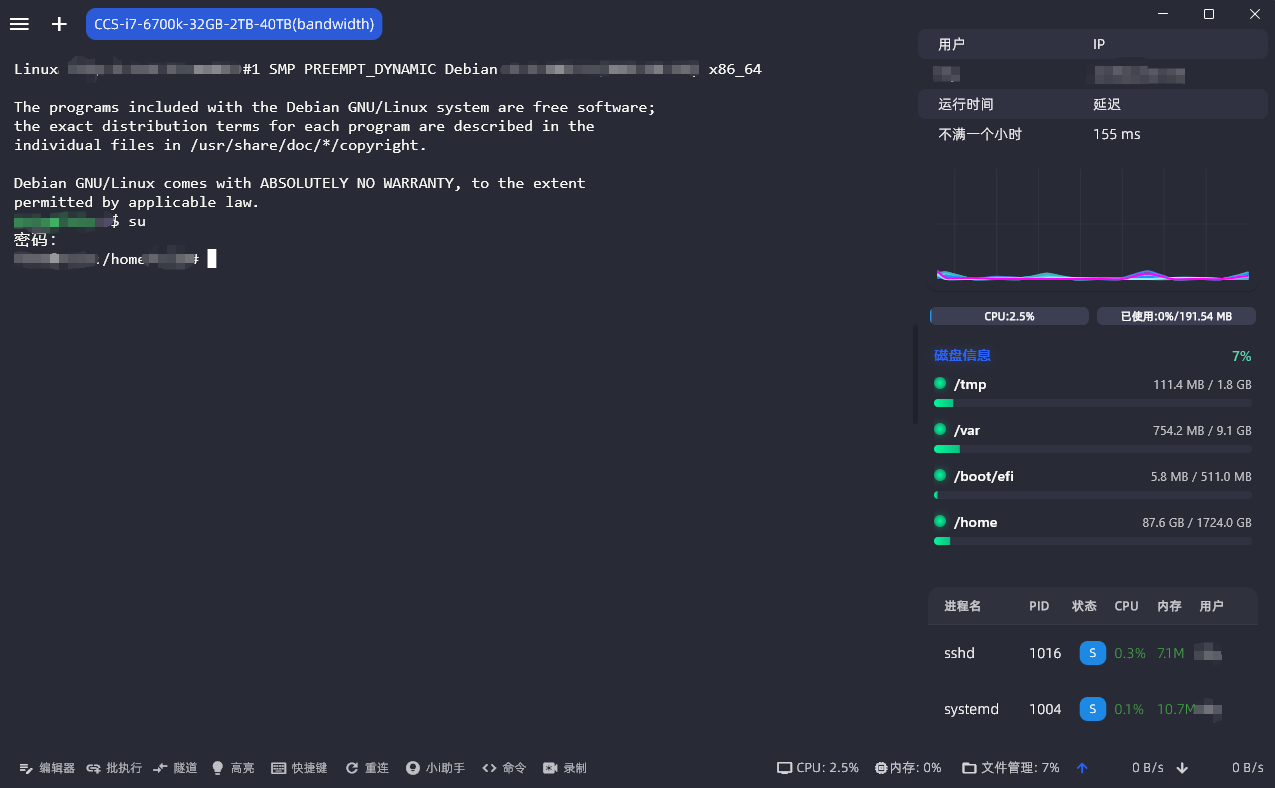
切换到root用户,上传下载的管理工具
安装解压工具:apt install unzip
解压文件:unzip IPMICFG_1.36.0_build.250225.zip
进入相对于系统目录:/IPMICFG_1.36.0_build.250225/Linux/64bit/
给予权限:chmod +x IPMICFG-Linux.x86_64
[
查看用户列表: ./IPMICFG-Linux.x86_64 -user list
更改用户密码:./IPMICFG-Linux.x86_64 -user setpwd 3 your-pass-word (替换为你的密码,明文,请勿设置弱密码,更改密码后请勿在IPMI后台设置,小心无法连接。)
[
更改Admin用户密码后,登录IPMI后台,既可以使用ADMIN和你刚刚设置的密码进行登录了,至此玩法就变得更多了
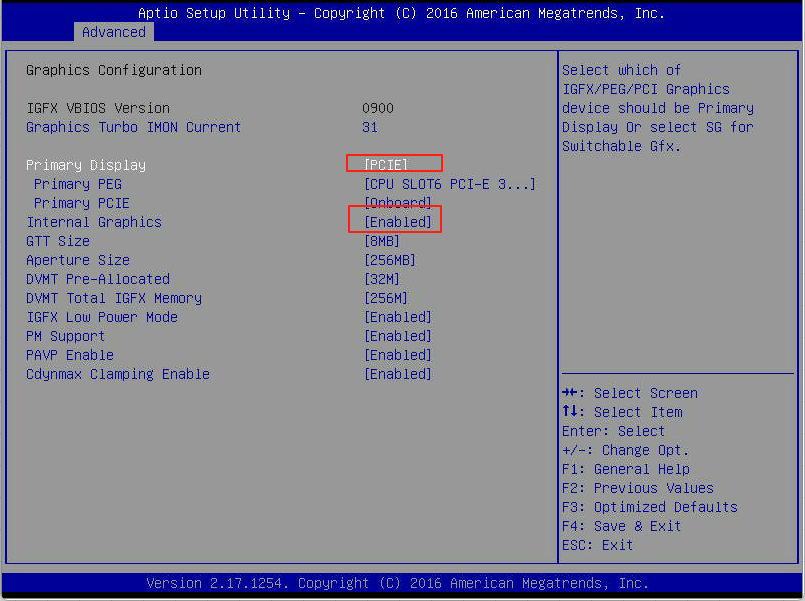
4.开启i7-6700k核显功能(cpu不支持核显功能可以跳过这步)
[
[
点击重启,或者使用reboot now 命令进行重启,然后出现开机画面立刻按DEL键,进入bios系统
[
[
[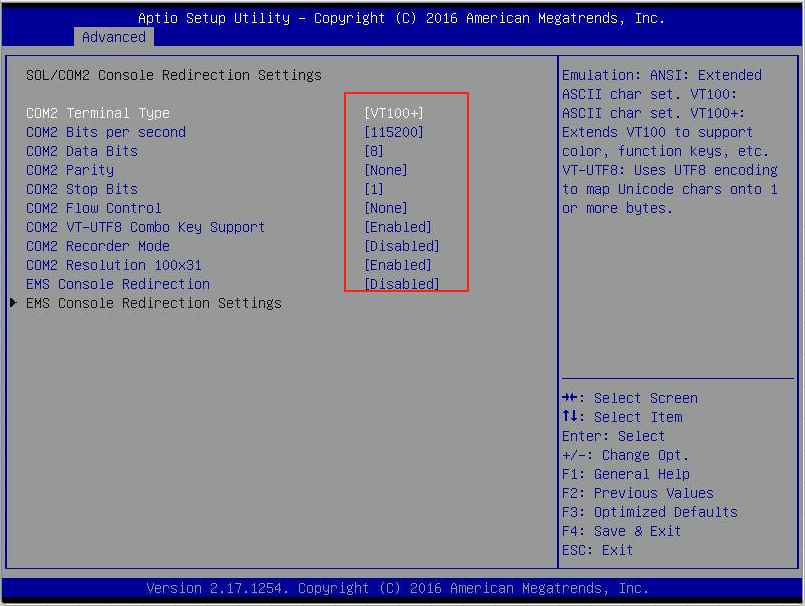
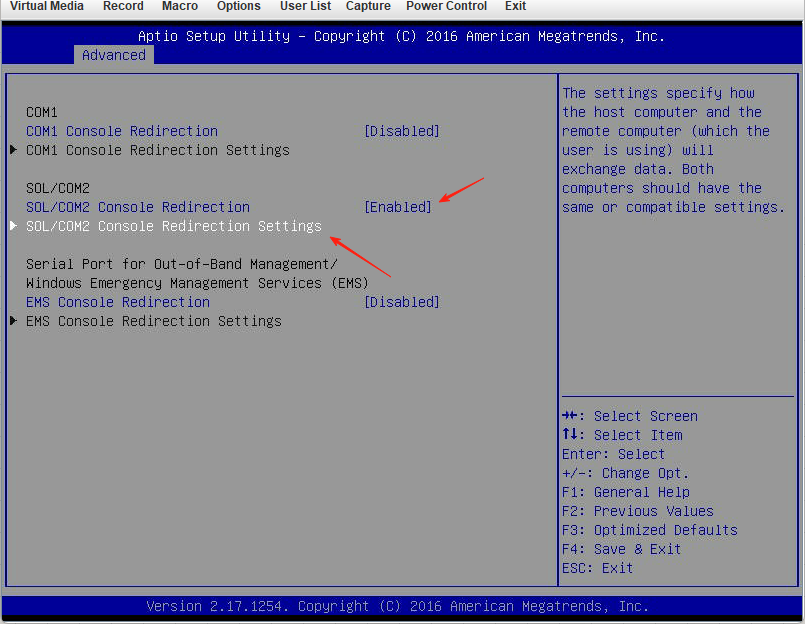
先查看SOL是否启用,选择SOL/COM2 Console Redirection Settings 回车进入,确认配置和以上差不多
[
[
[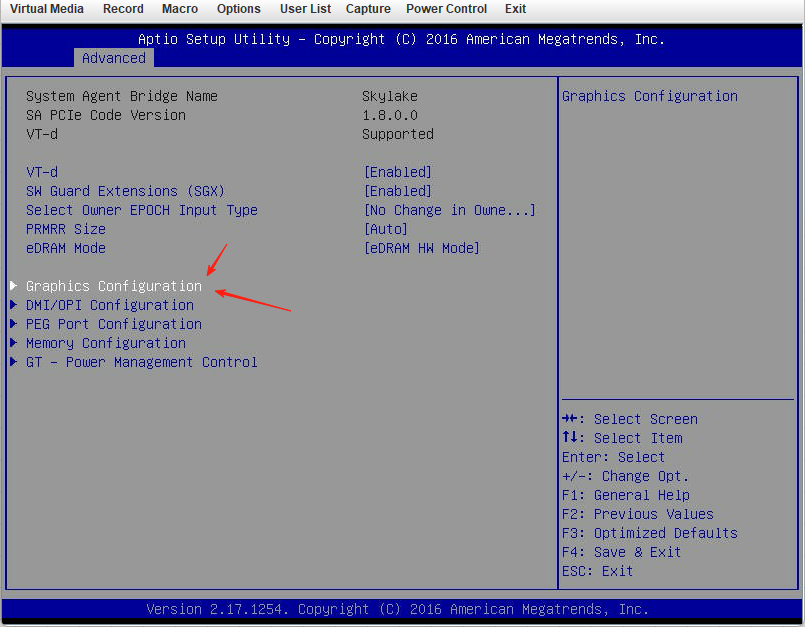
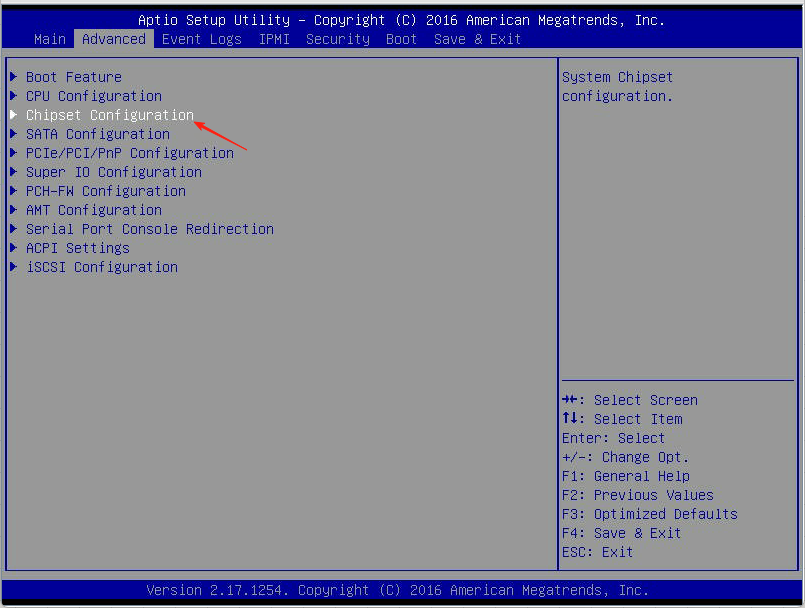
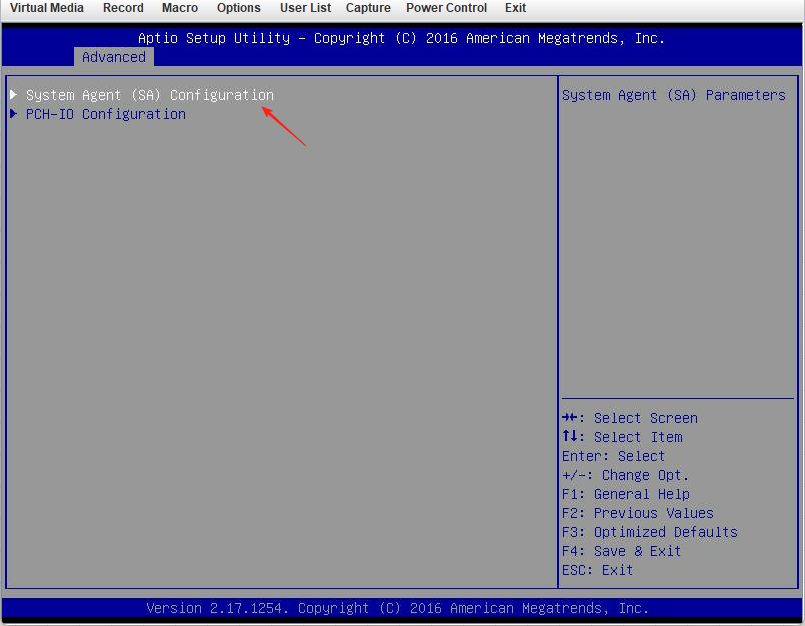
Advanced-Chipset Configuration –System Agent (SA)Configuration-Graphics Configuration
[